Wednesday, May 20, 2009

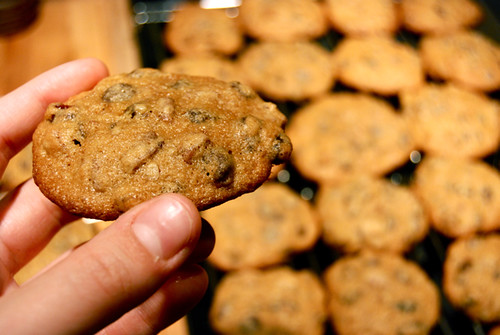
[Cookie 015] Ne Plus Ultra Cookies

Ne Plus Ultra Cookies

I got a very rude awakening today. First, though, I'll give you a little background to the story. My mom told me a few days ago about a charity event involving baking cookies for disabled veterans, for Memorial Day you know? Well, I thought this would be a great cause to get involved with, plus I would get to bake some cookies without having to consume them (yeah, sounds crazy, but those Pecan Bars nearly killed my family). So, today was the day, and my mom and I decided to try out the Ne Plus Ultra Cookies, thinking that they would be a good cookie for just about anyone, and be quick and easy to make (all of which were very true).

But here's where I get the rude awakening. Going to deliver said cookies to the "Operation Cookie" Headquarters, I immediately notice upon entering that I am by far the youngest person in sight by at least 50 years (barring my mom, of course!). My friends and I always joke about how I'm secretly a 75 year old woman on the inside, but this was ridiculous. We're talking grandmas baking cookies for charity. Yeah. I should probably start doing my knitting and embroidery on the sly from now on, or else the Woman's Club (the ladies in charge of this "Operation Cookie" business), will start banging on my door with their rolling pins and walkers.
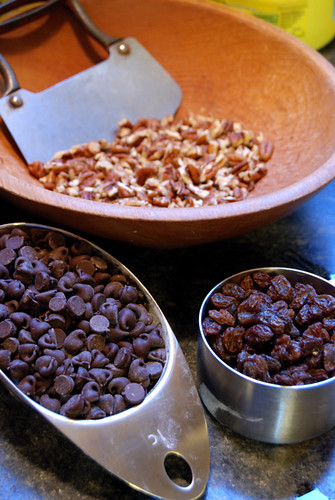
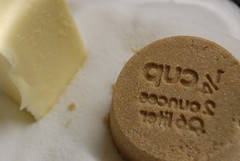
Ingredients!

Anyways, let's move on. I think I can secure my youth by proving my ability to keep up a blog, on the internet, at least. That's pretty new-fangled, right? Yeah. Right, the cookies. So, as I said earlier, I picked this recipe because it seemed like a very basic cookie that everyone would be partial to, and which we had all the ingredients for already in my pantry. Check, and check. With my mom at my side, we got to work.

Ne Plus Ultra Cookies

The recipe is just about as easy as they come, and basically involves mixing the wet ingredients, then adding the dry, and then mixing in a huge amount of chocolate chips, raisins, and nuts. The cookies themselves are supposed to be made on the larger scale, but because we needed at least 2 dozen for "Operation Cookie" (can't you just imagine a couple of senior ladies, sitting in some Laz-E-Boys, eyeglasses hanging from beaded lanyards around their necks, coming up with that name?), we made them about half the size--thus shortening their baking time.
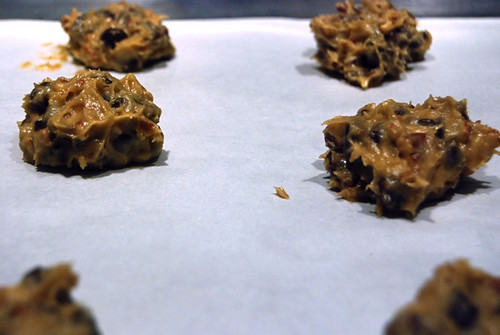
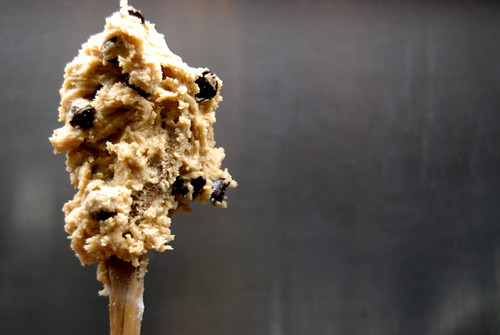
Ne Plus Ultra Cookie Dough

We did encounter a slight problem, or bump in the road more like it, regarding the dough. The recipe has you roll the dough into balls and then press them flat on the cookie sheet, but our dough was really sticky and wet, so it needed some more flour. It didn't affect the end result of the cookie, though, so all was fine.

In the end, though, I'd say the cookies were okay, not great though. They taste like exactly how'd you expect, but nothing special. Also, I think they need a bit more salt, or something to give it a special dimension flavor-wise, because they were a tad on the boring side.
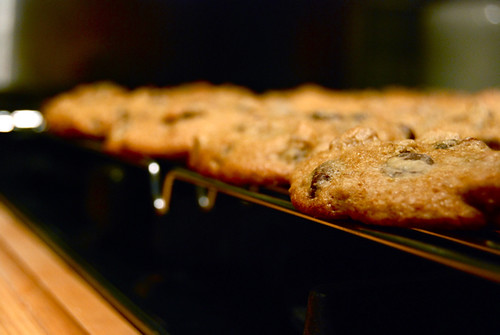
Ne Plus Ultra Cookies

Ne Plus Ultra Cookies
Makes about 1 dozen (or more, if you bake em smaller)

Ingredients
  • 1/2 cup unsalted butter (1 stick), softened
  • 2/3 cup packed dark-brown sugar
  • 1/4 cup granulated sugar
  • 1 teaspoon pure vanilla extract
  • 2 large eggs
  • 1 1/4 cups all-purpose flour, sifted
  • 1/2 teaspoon coarse salt
  • 1/2 teaspoon baking soda
  • 1 cup semisweet chocolate chips
  • 1 cup raisins
  • 1 cup pecans, coarsely chopped
Directions
  1. Preheat oven to 350 degrees. Put butter and sugars in the bowl of an electric mixer fitted with the paddle attachment; mix on medium speed until pale and fluffy, about 3 minutes. Add vanilla and eggs; mix until well combined.
  2. Sift flour, salt, and baking soda into a medium bowl; add to butter mixture on low speed until just combined. Stir in chocolate chips, raisins, and pecans.
  3. Roll dough into 2 1/2-inch balls, then flatten to 1-inch thick. Transfer to baking sheets lined with parchment. Bake cookies until golden brown, about 20 minutes. Let cool on sheets on wire racks. Cookies can be stored in an airtight container at room temperature up to 3 days.
****

{End Results}
Baking Difficultly: 1/5 (so easy!)
Ingredient Accessibility: 4/5
Tastiness: 3/5 (Meh)
Attractiveness: 3/5
Is it worth it?: I bet you can find a better recipe, but these aren't bad

Sunday, May 17, 2009

[Cookie 014] Pecan Bars

Pecan Bars

STOP.

I can't let you read the rest of this entry until you make sure that you have 2 cups of pecans, some heavy cream, and a ton of butter in your fridge. Because you have. to. make. these. ASAP.

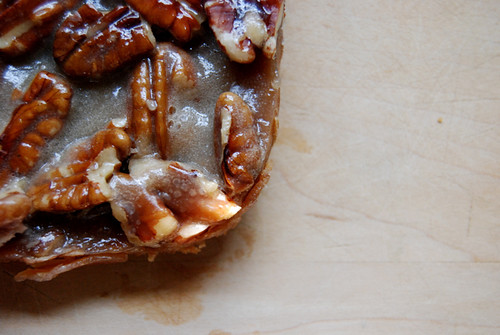
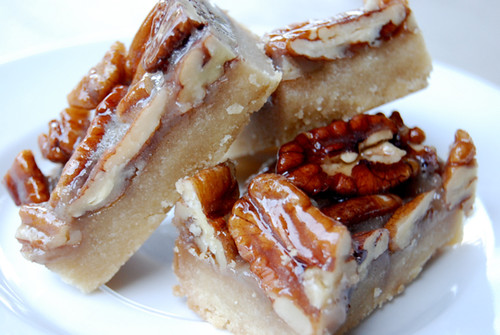
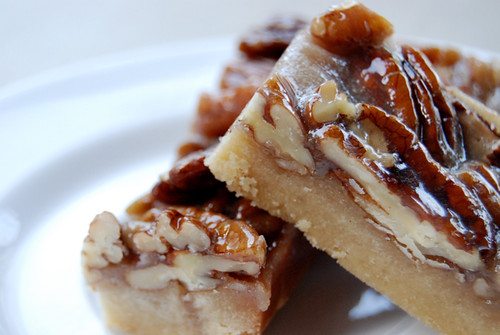
Seriously. I think I have a new favorite cookie. No wait- I know I have a new favorite. These Pecan Bars are divine, sublime, and just fantastically fantastic. Imagine your favorite pecan pie, but in bar form, thus increasing their ease of snackability and transportability. And cuteness, too.

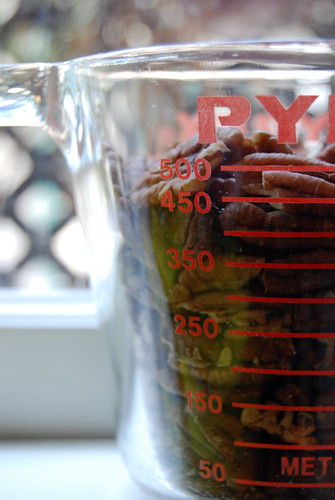
Pecans in Pyrex

Okay, let me get to the nitty-gritty of it. The recipe itself, although time consuming, really isn't very difficult at all. The bars are essentially just a shortbread bottom and a thick, sweet, pecan-studded filling on top, all baked in a simple 9 x 13 baking pan. The only thing that held me back from making these was the fact that we didn't have enough pecans, honey, and vanilla extract. Strange, because I'm home for summer in California, and generally that means a well stocked pantry, but I think I depleted a lot of the baking resources from over spring break. But once we had all we needed, things really got going.

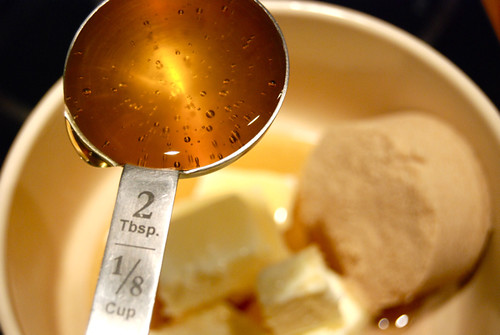
Honey for Pecan Filling
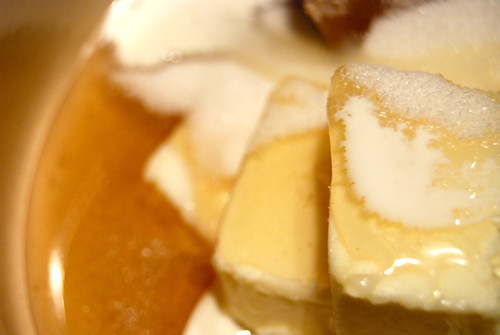
More Fatty Stuff for Pecan Filling

Making the shortbread bottom is a breeze: you just whip up a simple dough, and then press it into the baking pan so it's roughly 1/4" thick. It's kind hard to gauge the thickness of it, but it doesn't matter that much. Then you stab it with a fork a few times and set the whole thing in the fridge to cool for about 20 minutes. Bake it, then you're ready to make the filling (which is really what this cookie is all about, right?).

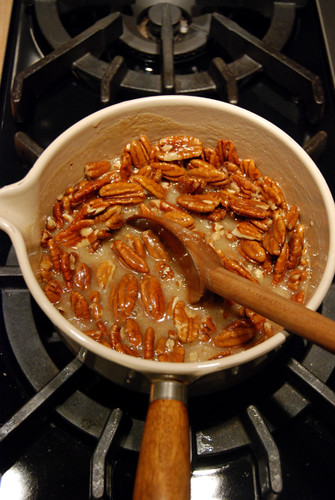
Making the Pecan Filling

Okay, so I'm not gonna lie, this recipe isn't for your health. At all. I mean, seriously, we've got heavy cream, butter, sugars, pecans--all your star ingredients. Oh and honey too. It's a sticky mess, but tastes something cosmic. Yeah, cosmic. I think that's the best word to describe it.

Pecan Bars

So, you make the filling, pour in on top of the shortbread, and bake it for a few more minutes until it starts to bubble. Then you take it out of the oven and let it cool, completely. Now this is when I began to get a little nervous, because the recipe has you run a knife along the edge of the pan, then invert the whole mess onto a cooling rack, and then invert it again onto a cutting board, so it's right-side-up. In my mind's eye, I saw the whole sticky mess getting stuck all over the cooling rack and getting all mussed up in general, and basically resulting in a pecan bar that looked nothing like the photo in the book (it wouldn't be the first time!). So to take extra precautions to make sure the filling would be completely set before the flipping ordeal, I put the baking pan in the fridge after it had already cooled for about 30 minutes.

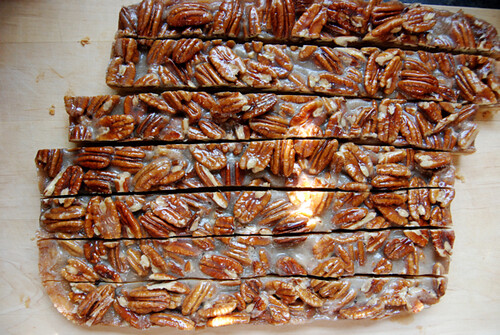
Sliced Pecan Bars

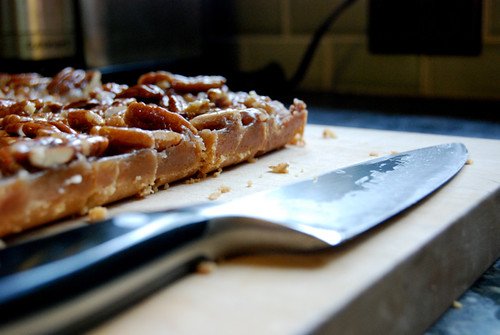
Well, all worked out spectacularly, and the great flip worked fine. But then comes the cutting part, and this also scared me. I thought there would be no way I could cut these pecans neatly, and that they wouldn't want to break and would instead just mess up the overall look of the bar. Well, just make sure you use a super sharp knife, and you'll do just fine. I was actually quite surprised in the results, because they did look like the photo in the book! The only thing I did wrong along the way was slightly underbake the shortbread, but really, no one (no one) is going to care, let alone notice, that.

Pecan Bars, Sliced

Okay, that's it. Then you eat one. Or three, whatever. And then you feel something like this:

Isabelle
Isabelle, ma cherie!

Yeah, I don't mind feeling like that. But these Pecan Bars definitely make you want to eat only raw vegetables for the next few days. Raw vegetables, alternated with Pecan Bars, and you'll be set. To health!

Pecan Bars

Pecan Bars
Makes about 3 dozen

Ingredients
  • 18 tablespoons (2 1/4 sticks) unsalted butter, room temperature
  • 3/4 cup light-brown sugar, firmly packed
  • 1/2 teaspoon salt
  • 3 cups all-purpose flour
  • 8 tablespoons (1 stick) unsalted butter
  • 1/2 cup light-brown sugar, firmly packed
  • 6 tablespoons honey
  • 2 tablespoons granulated sugar
  • 2 tablespoons heavy cream
  • 1/4 teaspoon salt
  • 2 cups (8 ounces) pecan halves
  • 1/2 teaspoon pure vanilla extract
Directions
  1. Place rack in center of oven. Heat oven to 375 degrees. To make the crust: In the bowl of an electric mixer fitted with the paddle attachment, mix butter and brown sugar on medium speed until light and fluffy, about 2 minutes. Add salt, and mix to combine. Add flour 1 cup at a time, on medium speed, mixing until fully incorporated after each addition. Continue mixing until the dough begins to come together in large clumps.
  2. Press dough about 1/4-inch thick into a 9-by-13-by-1-inch baking pan. Prick the pastry with the tines of a fork. Chill until firm, about 20 minutes. Bake until golden brown, 18 to 20 minutes. Transfer pan to a wire rack to cool completely.
  3. Reduce oven to 325 degrees. To make the filling: Place butter, brown sugar, honey, granulated sugar, heavy cream, and salt in a medium saucepan over high heat. Bring to a boil, stirring constantly until mixture coats the back of a spoon, about 1 minute. Remove pan from heat; stir in nuts and vanilla.
  4. Pour filling onto the cooled crust. Bake until filling bubbles, 15 to 20 minutes. Carefully transfer pan to a wire rack to cool completely. Run a paring knife around edges of the pan, and invert onto cooling rack, leaving the pastry on the rack. Invert rack with pastry onto a cutting board, leaving the pastry on the board, filling side up. Use a sharp knife to cut into 1-by-3-inch bars. Store in an airtight container up to 1 week.
****

{End Results}
Baking Difficultly: 3/5
Ingredient Accessibility: 3.5/5
Tastiness: 5/5 (Yeah)
Attractiveness: 4.5/5
Is it worth it?: Uh, did you read this entry? (if not, the answer is YES.)

Saturday, May 16, 2009

[Cookie 013] Earl Grey Tea Cookies

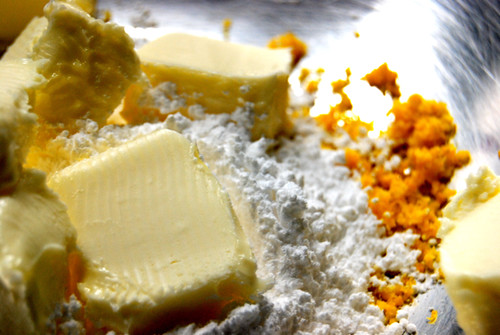
Earl Grey Tea Cookie Dough

Hey guys, sorry I've been sorta M.I.A. for the past week or so, but life got pretty hectic and insane, what with finishing up the year and all that. I did manage to make some cookies, but I don't even know if I should share them with you because they came out pretty...horrendous. Thing is, I had made them before, and they were quite tasty the first time, but they sure didn't come out the right way this time around. Anyways, here goes....

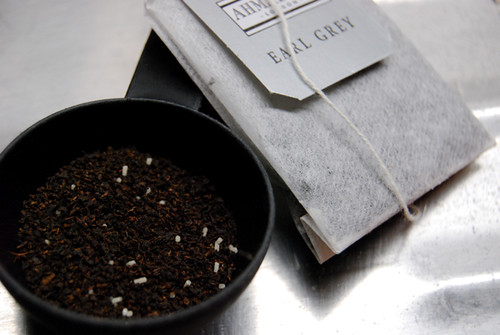
Tea, Baby

So, I'm a pretty huge Earl Grey Tea fan, and I've tried a bunch of varieties of it, both loose and packaged. I really hate the Stash brand of Earl Grey because, to me, it's way way too fruity and doesn't taste like Earl Grey at all. Trader Joe's makes a pretty good packaged tea, but my favorite brand that can be found in (some) supermarkets, would be Ahmad Tea. Their Earl Grey is pretty spot on, in my opinion, but I can only find it at SuperKing (a super market up in Altadena). But if you get a chance to try it, do.

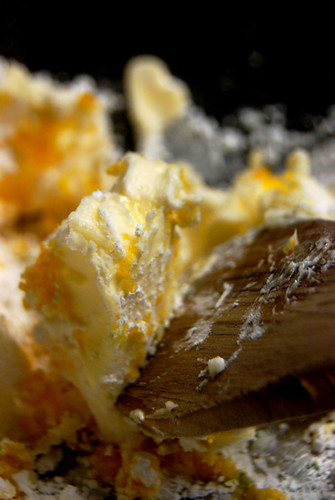
Earl Grey Tea Cookie Dough

I think where I began to go wrong was with the butter situation. I forgot to let the butter get to room temperature, so it didn't mix evenly into the dough, leaving me with chunks of pure butter that just wouldn't incorporate into the rest. Big problem. This recipe has you form the dough into a log-like shape and freeze it, and then slice the cookies Pillsbury-style. I followed the instructions and used a ruler to help shape the log, which actually wasn't as difficult as it sounded. Unfortunately, I didn't have a spare empty paper towel tube to put the dough inside of, so I just stuck it in the freezer without. This might have also led to the cookie's sad end results.

Rolling Earl Grey Tea Dough for Freezing

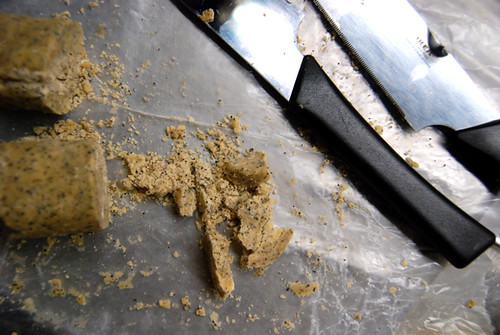
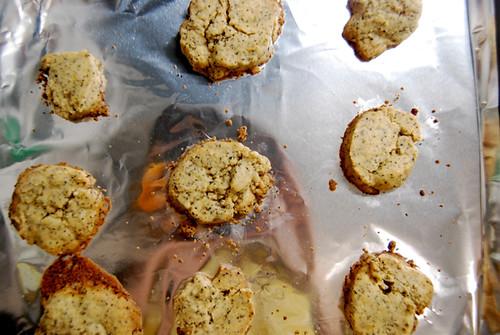
But the main reason (I think) that these cookies failed so pathetically was because the dough wasn't completely mixed homogeneously, causing the dough to crack and crumble and absolutely refused to keep its shape when sliced. A complete failure. I was sad.

Earl Grey Tea Cookie Dough

Yeah, I'd say that's pretty laughable. Boo-hoo! I tried to mush the dough into little discs, but to no avail. The product was, well, not so nice. The most aggravating thing, though, was that I had made these over winter break and they sliced nicely, were quite pretty and elegant, and had a really nice flavor and melty texture when you bit into them. Not only did these look ugly after they were baked, they didn't even taste as good. I really don't know why the flavor was so bad, because I don't think I changed anything, but something went awry along the way!

I guess I can show you the end results, but I want to hide from embarrassment. It's quite humiliating, actually. Ok, here goes, but promise you won't taunt me too badly!

Bad Earl Grey Tea Cookies

HOW WAS THIS POSSIBLE. More importantly, how did I manage to forget to photograph these cookies the first time I made them, when they looked so darling and dainty?? Ugh! Well, I still encourage you to try these, because based on the first time I made them, they are really pretty, what with their speckles of tea and golden edges, and they taste delicious (not too sweet, just perfect for an afternoon tea).

Anyways, I'm making a new recipe as I write this entry, and my oven timer just beeped. Stay tuned--these next ones should be good (or at least a lot better than these!)

Earl Grey Tea Cookies
Makes about 8 dozen

Ingredients
  • 2 cups all-purpose flour, plus more for dusting
  • 2 tablespoons finely ground Earl Grey tea leaves, (from about 8 bags)
  • 1/2 teaspoon salt
  • 2 (8 ounce) sticks unsalted butter, softened
  • 1/2 cup confectioner's sugar
  • 1 tablespoon finely grated orange zest
Directions
  1. Whisk together flour, tea, and salt in a small bowl; set aside.
  2. Put butter, sugar, and zest in the bowl of an electric mixer. Mix on medium speed until pale and fluffy, about 3 minutes. Reduce speed to low; slowly mix in flour mixture until just combined.
  3. Divide dough in half. Transfer each half to a piece of parchment paper; shape into logs. Roll in parchment to 1 1/4 inches in diameter, pressing a ruler along edge of parchment at each turn to narrow log and force out air. Transfer in parchment to paper-towel tubes; freeze 1 hour.
  4. Preheat oven to 350 degrees. Cut logs into 1/4-inch-thick slices. Space 1 inch apart on parchment-lined baking sheets.
  5. Bake until edges turn golden, 13 to 15 minutes. Let cool on sheets on wire racks.
****

{End Results} --- I'll base this on the first time I made these!
Baking Difficultly: 2.5/5
Ingredient Accessibility: 4/5
Tastiness: 3.5/5
Attractiveness: 4/5
Is it worth it?: Yeah, give it a try!

Tuesday, May 5, 2009

[Cookie 012] Chocolate Thumbprints

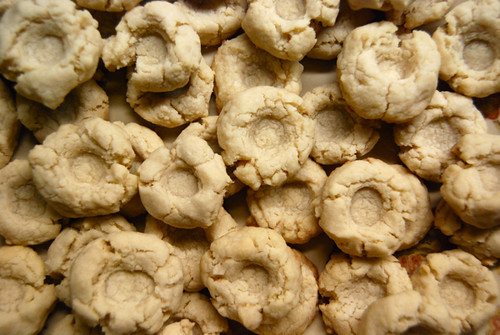
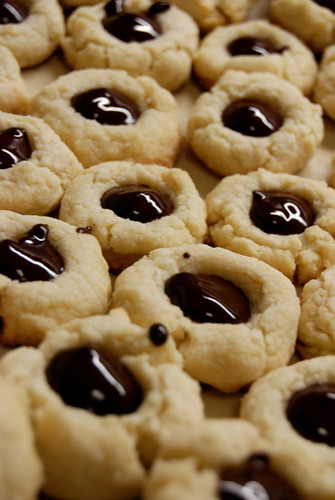
Chocolate Thumbprints

So, the past few weeks are supposed to be considered rather busy ones for students like myself, considering that it's been finals week, and all my studio art courses are winding up. Final projects are due--paintings, photographs, sculptures, manifestos (yes, manifestos)--and so you'd think I wouldn't have any time to make cookies, let alone make more than one recipe per week. Well, that's where you're wrong, because the more work I have, the more I feel compelled to bake unnecessarily huge quantities of cookies! It's a great situation, because I can trick myself into feeling productive when in reality, I'm just...baking. I like it. And I think I am becoming Maggie Gyllenhaal's character in Stranger Than Fiction, but that's another issue entirely.

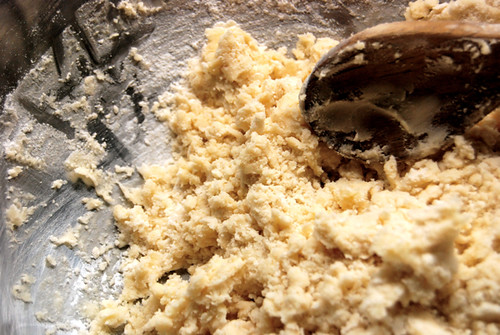
Chocolate Thumbprint Cookie Dough

Okay, so these cookies, these thumbprints, yes. I found myself in a situation where I needed to bring cookies as a gift of sorts, and therefore I needed a recipe that produced cookies which were 1) pretty and easily transportable; 2) relatively simple/quick to make; 3) tasty to pretty much everyone. Success! These look great, taste great, everyone likes them, and they're easy.

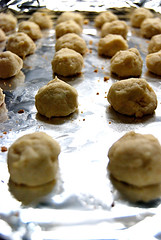
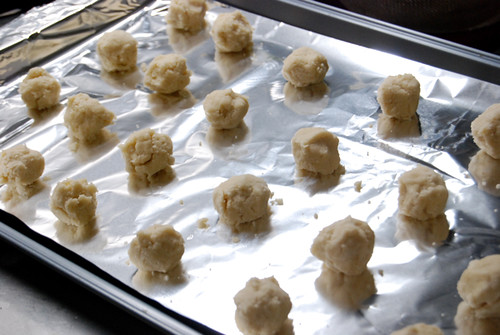
Chocolate Thumbprint Cookies, Ready for PrintingSemisweet Chocolate Filling

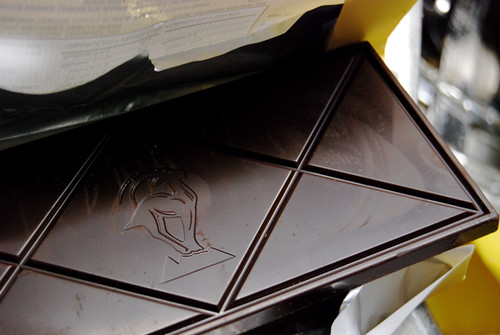
I knew that these would be winners just based on their dough because the recipe calls for only confectioners sugar, no granulated, and that tends to produce crunchy cookies that melt in your mouth in the most divine way! Furthermore, there aren't any odd ingredients (except maybe the inclusion of corn syrup), so really it's all about the chocolate you choose. That being said, I went with the big guns: Scharffen Berger.

Scharffen Berger Semisweet Chocolate
Chocolate Thumbprints, Unprinted

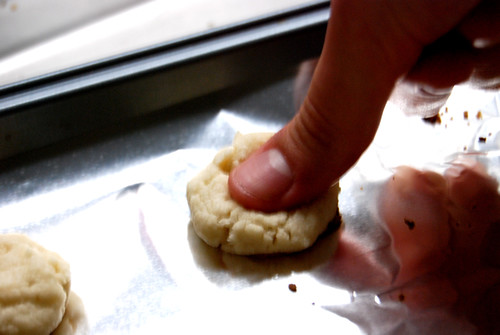
Now, as for the actual act of "thumbprinting," it's all quite easy, barring the fact that you need to press your thumb into half-baked cookie dough straight out of the oven. I knew I would be in for some pain when Martha recommends keeping a bowl of ice water on hand so you can plunge your scalding thumb into it before getting a second degree burn. Okay, that was dramatic, but it's a little annoying, this whole procedure, but if you make sure to dip your finger into the water enough, you should be fine.

Thumbprinting
Sorry the picture is blurry; it's probably because I was trying to talk on the phone, listen to my iPod, take this photograph, and not burn the hell out of my thumb, simultaneously (and unsuccessfully)

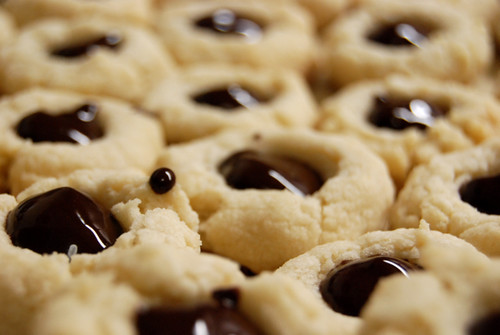
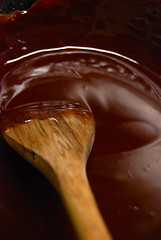
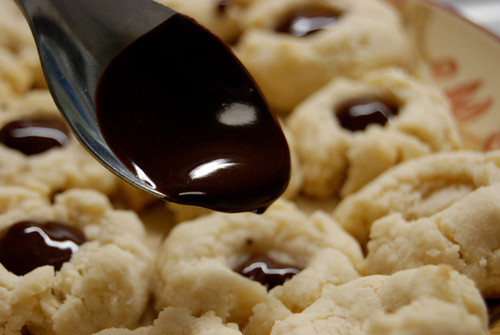
Anyways, after you thumbprint the cookies, you stick them back into the oven for a few more minutes to bake more. After they dry, the real fun comes, and you get to pour the chocolate into the little grooves, and fortunately there is a lot of excess chocolate! Sort of a reward for sticking through all the pain?

Chocolate-less ThumbprintsFilling Thumbprints w/ Chocolate

Oh and be sure to try a cookie at every stage of the baking process, like I did. I tried the dough (tasty!), I tried the cookies before thumbprinting them when they were in their half-baked stage (chewy!), I tried them after they were baked but before the chocolate (crunchy and yummy!), I tried them with freshly poured hot chocolate in them (divine!), and I tried them when the chocolate had hardened up (excellent!). Oh, and I tried them a few days later, and they might even improve with age. Perfect. These cookies are really fun to make, everyone likes them, and they look adorable. Plus, the recipe makes a bunch of baby-sized cookies, so they are great for parties or snacking or whatever you do.

Chocolate Thumbprint Cookies

Chocolate Thumbprints
Makes 4 1/2 dozen

Ingredients
  • 1 cup (2 sticks) plus 3 tablespoons unsalted butter, room temperature
  • 1 cup confectioners' sugar
  • 1/4 teaspoon salt
  • 2 teaspoon pure vanilla extract
  • 2 1/2 cups all-purpose flour
  • 3 ounces semisweet chocolate, chopped
  • 1 teaspoons light corn syrup
Directions
  1. Heat oven to 350 degrees. In the bowl of an electric mixer fitted with the paddle attachment, beat together 2 sticks of butter, sugar, salt, and vanilla on medium-high speed until smooth, about 2 minutes. Beat in flour, beginning on low speed and increasing to medium until combined.
  2. Roll dough by teaspoonfuls into balls, and place 1 inch apart on an ungreased or parchment-lined baking sheet. Bake for 10 minutes, remove from oven, and press thumb into tops of cookies to make indentations. Return to oven, and bake until light brown on the edges, 7 to 9 minutes more. (If the indentations begin to lose definition, remove cookies from oven and press again.) Remove to a wire rack to cool.
  3. Combine chocolate, remaining 3 tablespoons butter, and corn syrup in a small heat-proof bowl. Set over a pot of simmering water; stir occasionally until melted and smooth. Allow to cool slightly. When cookies are cool, fill the thumbprints with the chocolate mixture. Cookies can be stored in single layers in airtight containers at room temperature up to 3 days.
****

{End Results}
Baking Difficultly: 3/5
Ingredient Accessibility: 4/5
Tastiness: 4/5
Attractiveness: 4.5/5 (True cuties)
Is it worth it?: Yes, of course!

Saturday, May 2, 2009

[Cookie 011] Cakey Chocolate Chip Cookies

Cakey Chocolate Chip Cookies

Okay, Martha, you redeemed yourself from last week's debacle. I knew you could, especially when it comes to such a traditional cookie like the Chocolate Chip. You're alright in my book, Martha, but I'm still not going to forget last week (even though one of my friends called those her favorite cookies [she crazy]). But seriously, these Cakey Chocolate Chip Cookies were really yummy, and just as their title suggests, super cakey too!

Cakey Chocolate Chip Cookies, Ready to Go!

I guess it's pretty hard to go wrong with a good old chocolate chip cookie, but I really love how you have 3 or 4 recipes for them in your book, but each is made with a specific consistency. These were definitely cakey, so I can't wait to try out the thin and crispy ones, and the chewier ones as well. Because these were so cakey, I added some toasted walnuts (also because I have an over abundance of them due to a Trader Joe's mishap), and I think they really added to the texture of the cookie. Giving them a little crunch was a nice constrast!

Walnut PrepSugar, Sugar, Butter

Obviously, these were not difficult to make in the slightest. The recipe is pretty much the same as most other chocolate chip cookies, but there is less butter and brown sugar, which is what makes them fluffier and cakier. The recipe makes a bunch of really huge, hearty cookies that would probably hold up just swell if shipped to someone in need (ie. anyone/everyone). Or, you could just save the dough and eat it, because honestly, chocolate chip cookie dough is the king of all cookie doughs, and I think everyone knows it.

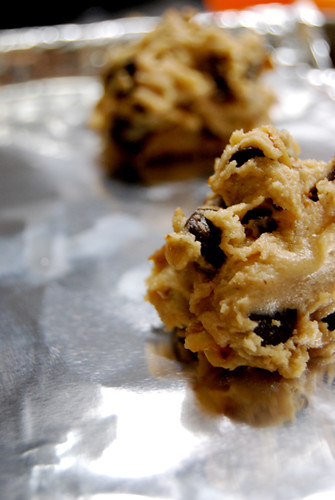
Cakey Chocolate Chip Cookie Dough Batter

I also thought I share with you a little bit about my very own Kitchen Stadium. One the highlights of my world-class cooking/baking setup, is my cooling rack for all the cookies I make. Check it out!

Ghetto Cooling Rack

I AM USING MY DISH DRAIN TO DRY COOKIES.

Okay, maybe I shouldn't have shared that with the whole world, considering that several of the people who eat/rate my cookies read my blog as well, but I don't care. The point is, if I am baking 1-2 batches of cookies per week, I should probably invest in a decent cooling rack, as well as maybe a Silpat (ooh yes yes! I want!). I did, however, just come across a brand new, quite nice cookie sheet at the Salvation Army for a mere $3, which is pretty awesome.

Cakey Chocolate Chip Cookies
Almost All Gone
Messy Fingers

Cakey Chocolate Chip Cookies
Makes about 3 dozen

Ingredients
  • 2 1/4 cups all-purpose flour
  • 1/2 teaspoon baking soda
  • 14 tablespoons (1 3/4 sticks) unsalted butter, room temperature
  • 3/4 cup granulated sugar
  • 1/4 cup packed light-brown sugar
  • 1 teaspoon salt
  • 2 teaspoons pure vanilla extract
  • 2 large eggs
  • 2 cups (about 12 ounces) semisweet and/or milk chocolate chips
Directions
  1. Preheat oven to 350 degrees. In a small bowl, whisk together the flour and baking soda; set aside. In the bowl of an electric mixer fitted with the paddle attachment, combine the butter with both sugars; beat on medium speed until light and fluffy. Reduce speed to low; add the salt, vanilla, and eggs. Beat until well mixed, about 1 minute. Add flour mixture; mix until just combined. Stir in the chocolate chips.
  2. Drop heaping tablespoon-size balls of dough about 2 inches apart on baking sheets lined with parchment paper.
  3. Bake until cookies are golden around the edges and set in the center, 10 to 12 minutes. Remove from oven, and let cool on baking sheet 1 to 2 minutes. Transfer to a wire rack, and let cool completely. Store cookies in an airtight container at room temperature up to 1 week.
****

{End Results}
Baking Difficultly: 1/5
Ingredient Accessibility: 4.5/5
Tastiness: 4/5
Attractiveness: 3/5 (They look like they all do!)
Is it worth it?: Yes! Everyone likes these, and if you are particularly partial to cakey cookies, these are perfect

****

P.S. I have been having a lot of trouble commenting on any Blogger blogs, let alone my own, which is really annoying because I want to respond to your comments but I can't!! I'll work on it, but until then, sorry! It has been taken care of (at least for now)! I can respond to comments again!