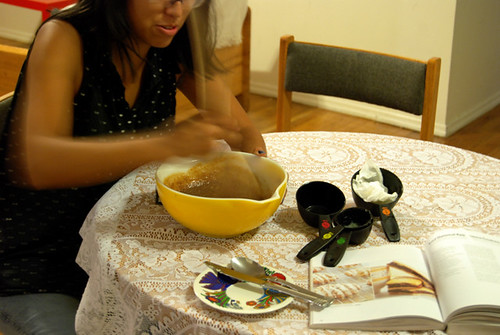
Hello folks, I'd like to introduce you to someone. This is Marjorie. She is my hero/tailor.
I am forcing her to be my friend.
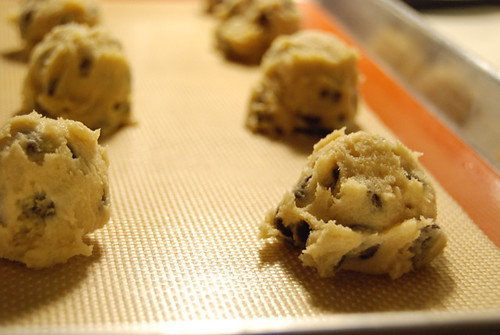
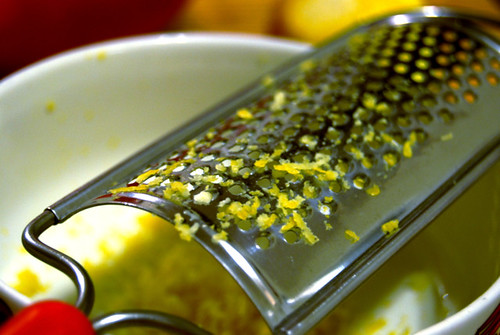
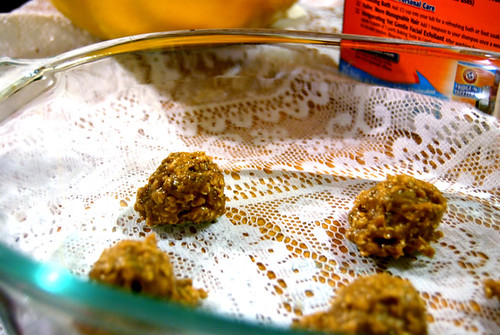
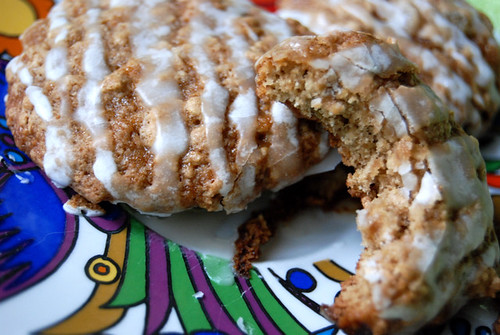
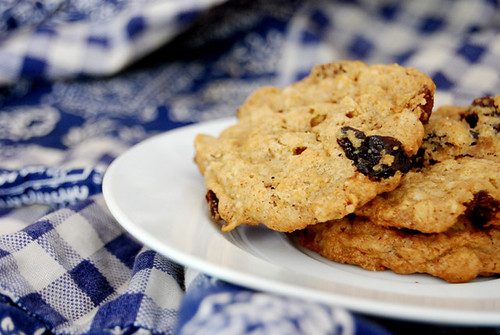
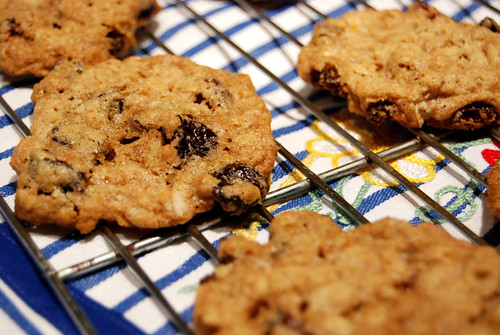
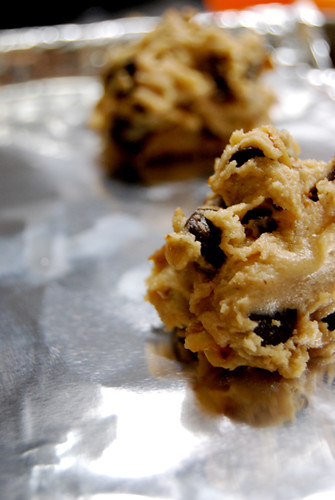
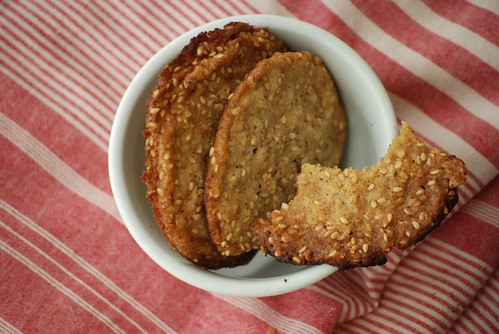
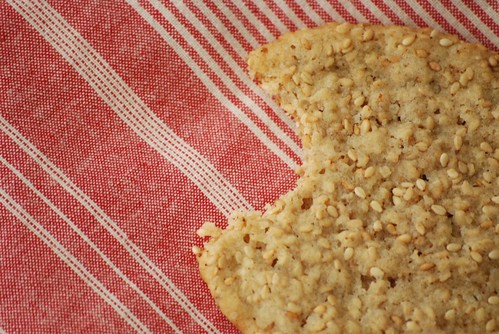
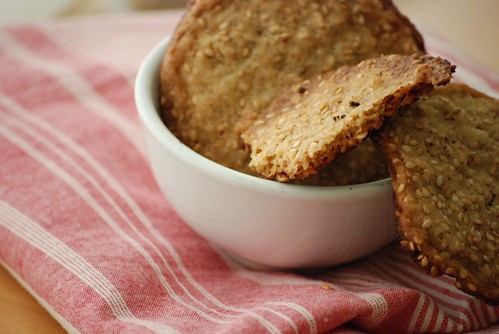
And obviously, my first step towards achieving this goal was to make her cookies. Specifically, these Sesame Seed Cookies.
Okay, I think I should do some 'splaining. First off, I am taking a Projects in Photography class this semester, and it focuses primarily on portrait photography. Which is pretty rad, in my opinion, since I never get around to actually shooting posed portraits and I have really wanted to give it a try. For our most recent assignment we had to pick a Ghanaian that we were relatively chummy with (or not--just depends on how confident you are with potentially awkward situations) and photograph this subject over an 8-12 hour block of time. So, I chose Marjorie, who is the go-to seamstress for most of the students in my program. She always came off like somewhat of an enigma to me, in part because of her no bullshit attitude and somewhat stony countenance. Plus, she can sew a pretty 1960s cocktail dress in about 6 minutes, from raw fabric to ironed lapels.
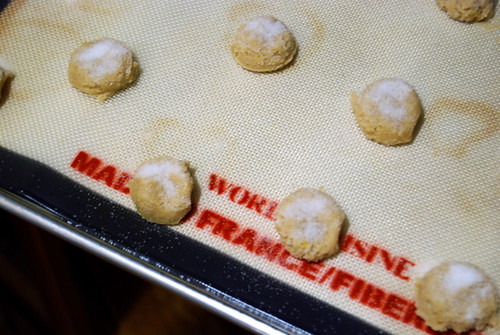
So I set up a date to come in and shoot some pictures of her, and in preparation I make a batch of these Sesame Seed Cookies (mainly to get on her good side before I would proceed to bug the hell out of her with my camera). Another example of how baking cookies has helped me where my social skills are lacking! I hand her the tupperware containing the cookies, and she takes a bite, and says "You did good" and then continues her cutting and measuring. I felt like I was in a detective movie and had just returned to my boss with a particularly juicy bit of info, and the P.I. gruffly patted me on the shoulder and told me "Ya did good, kid." Yay!
Anyway, I shot a million pictures, only got a few that I like, and none that I love. Oh well, c'est la vie. At least the cookies were a hit, and that's what I should be talking about anyway! So I'll hop to it.
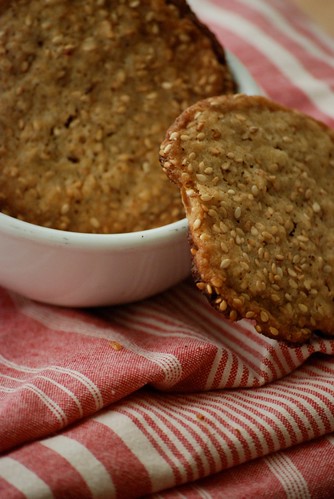
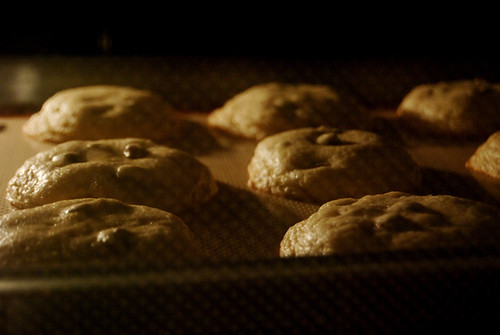
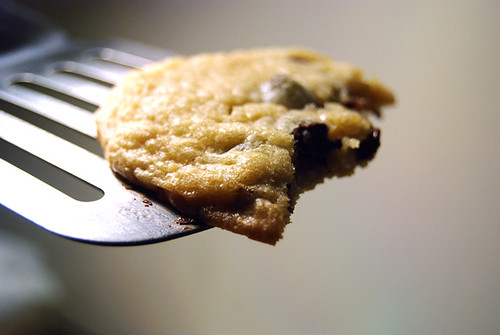
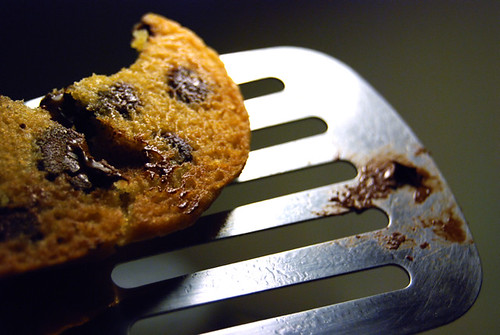
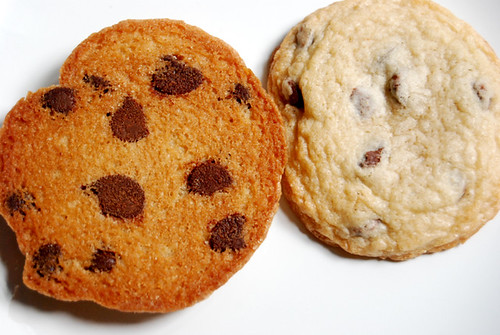
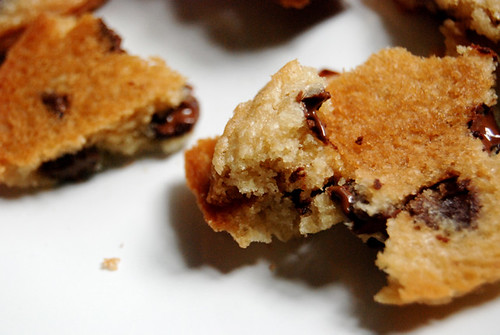
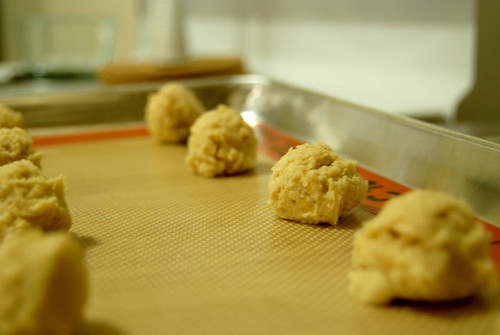
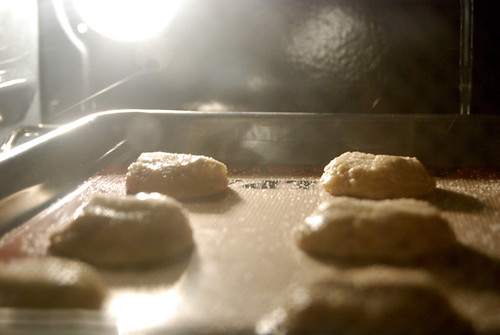
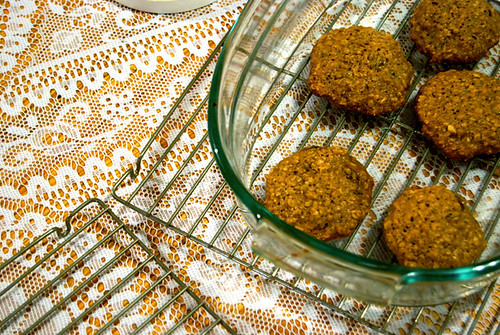
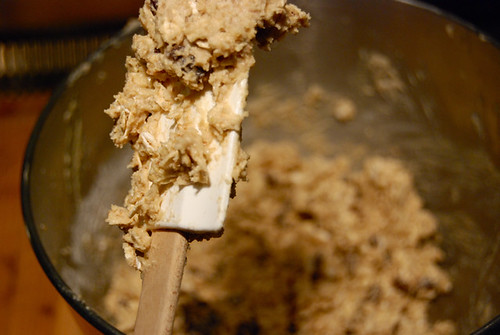
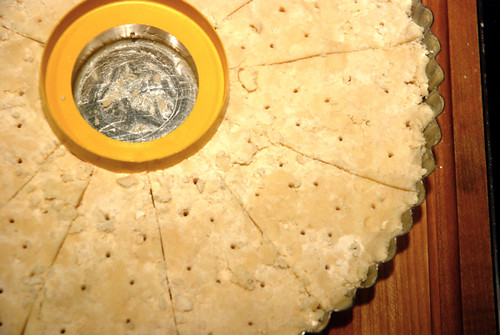
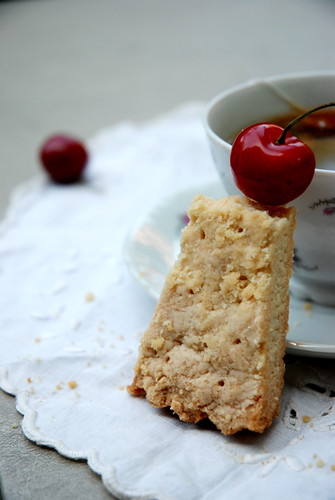
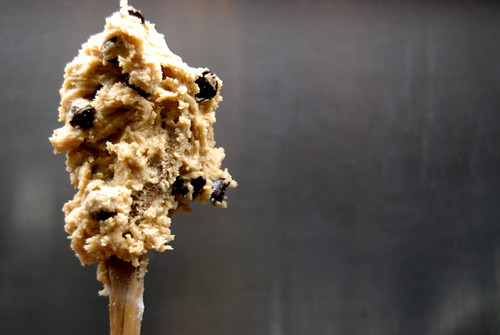
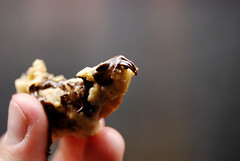
These cookies are really good. You must excuse their appearance, because once again my crazy oven situation messed them up pretty badly. But the dough is delicious and the flavor of the actual baked cookie is pretty awesome. The sesames get all toasty and pack a bunch of flavor as well as crunch. I would most definitely make these again, because not only are they easy to make, but they are unusual, so you can impress your friends (and friend-crushes) without breaking a sweat.
Sesame Seed Cookies
Makes about 4 dozen
Ingredients
- 1 cup all-purpose flour
- 1/2 teaspoon salt
- 1/2 teaspoon baking soda
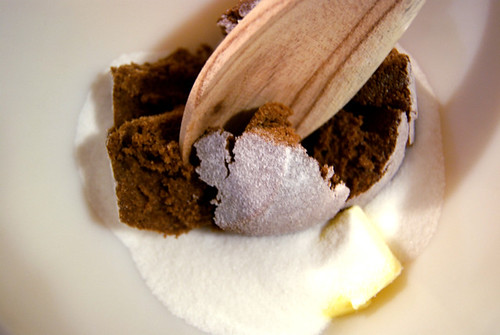
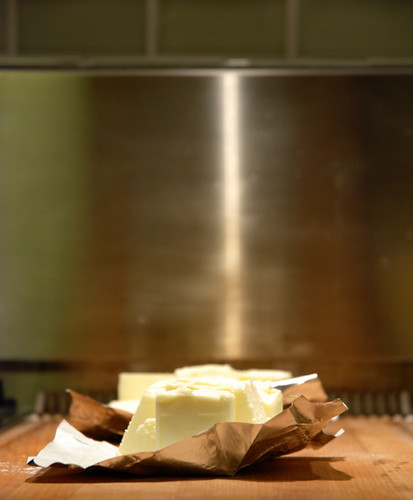
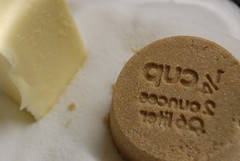
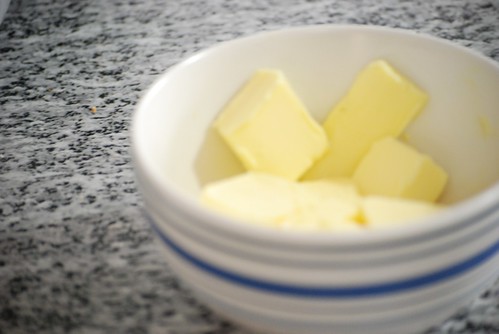
- 8 tablespoons (1 stick) unsalted butter, room temperature
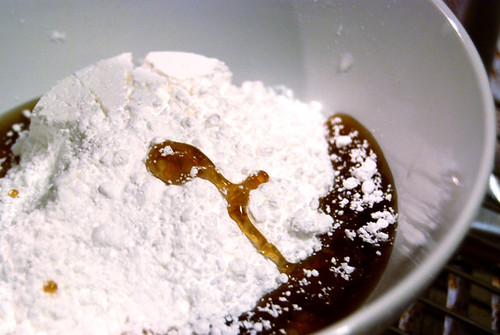
- 1 cup packed light-brown sugar
- 1 large egg
- 1/2 teaspoon pure vanilla extract
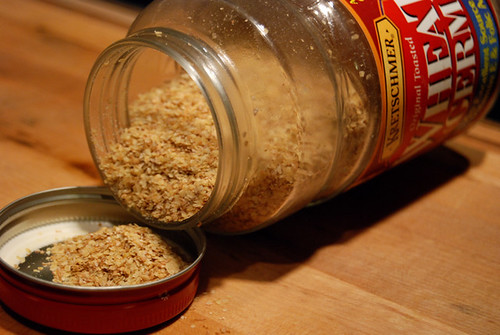
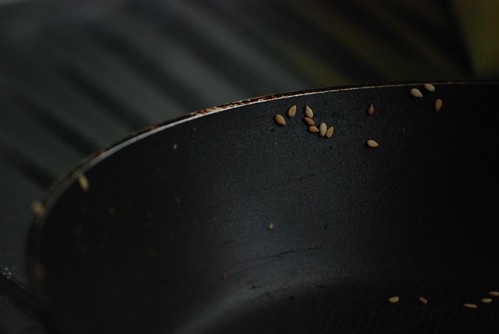
- 1 cup hulled sesame seeds, toasted
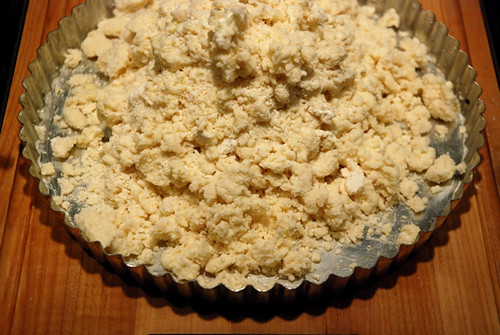
Directions
****
{End Results}
Baking Difficultly: 1/5
Ingredient Accessibility: 4/5
Tastiness: 4/5
Attractiveness: 3/5
Is it worth it?: Yes! Especially those of you who are fans of sesame flavor...you know who you are.
Baking Difficultly: 1/5
Ingredient Accessibility: 4/5
Tastiness: 4/5
Attractiveness: 3/5
Is it worth it?: Yes! Especially those of you who are fans of sesame flavor...you know who you are.
{Pairings}
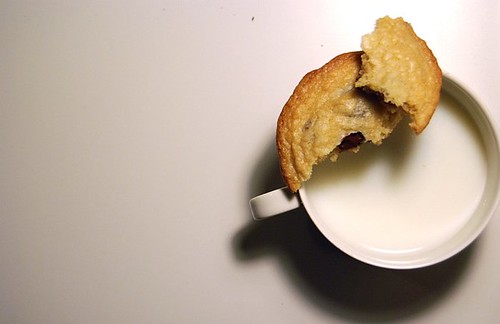
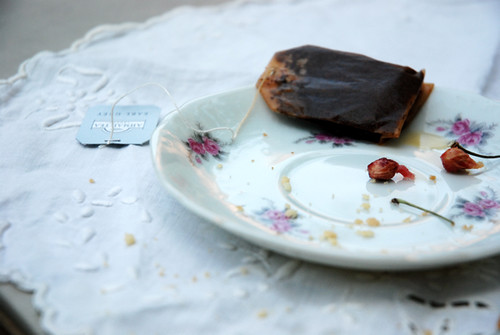
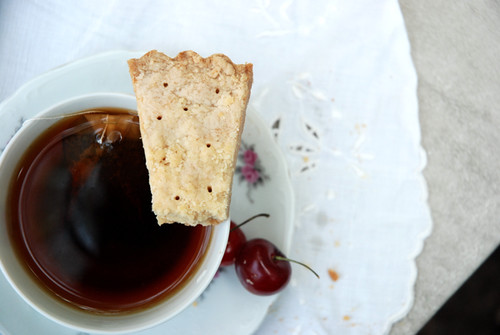
Drink: No drink. Nothing.
Song: Side with the Seeds -- Wilco
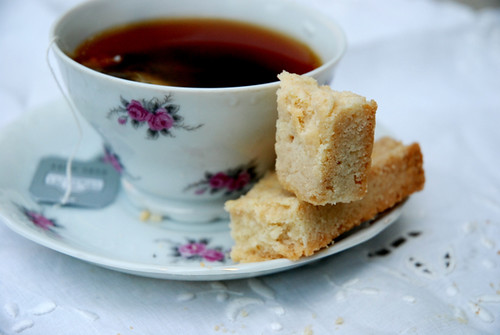
Activity: These would be good served at a nice little tea party or to give as a gift. See above anecdote.
Activity: These would be good served at a nice little tea party or to give as a gift. See above anecdote.