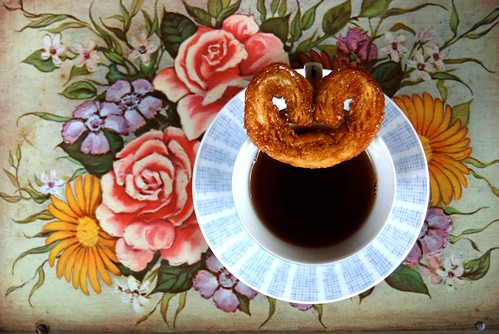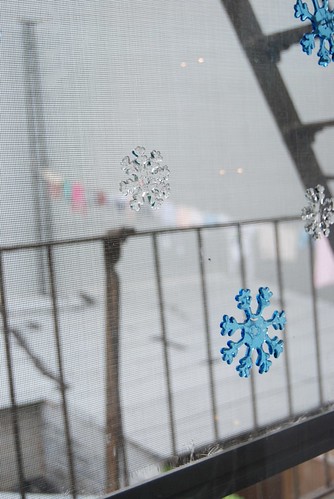
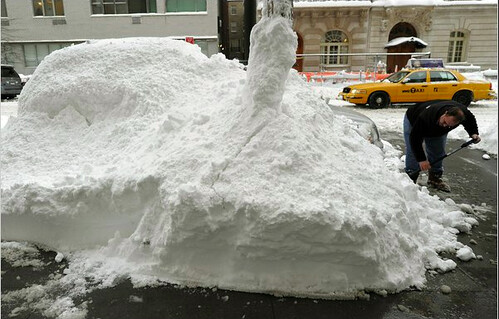
THERE IS SO MUCH GODDAMN SNOW EVERYWHERE I CAN'T BELIEVE IT! Oh my God!! The Mayans were right--they are sending us signals by burying the entirety of New York City under 85 feet of snow. I walked home last night, late, and there was so much snow I couldn't actually see any of the cars parked on the streets, and couldn't see where the sidewalks ended and the streets began! White blanket of snow everywhere, nothing is spared! Armageddon is here! It's all going to be over by 2012! But at least school was cancelled today :)
Thanks, New York Times, for capturing our misery.
During trying times like these, I like to hark back to the days of yore, when I was passing my winter days in 70-80º weather in the land of Southern California. Those times were easy, carefree, and the sun was always kind to us. I never wore more than 1 sweater at a time and didn't fall down on my ass nearly as much. And during those warm winter days, we reaped the benefits of having a Meyer Lemon tree that produced such an excessive number of lemons that we didn't even know what to do with them all. And the thought of making lemon sorbet wasn't appalling, but enticing!
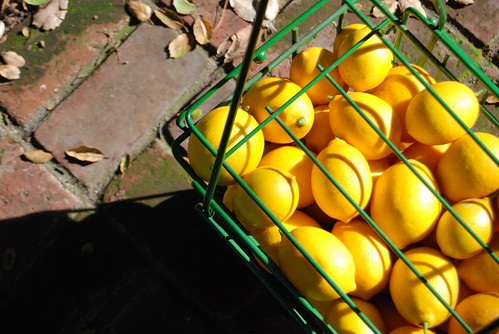
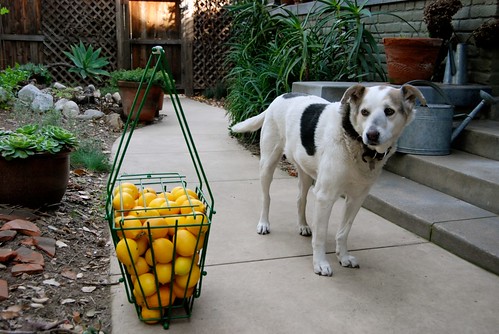
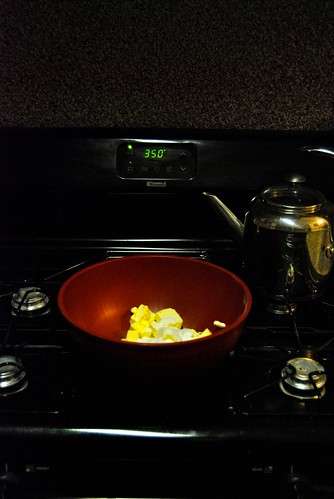
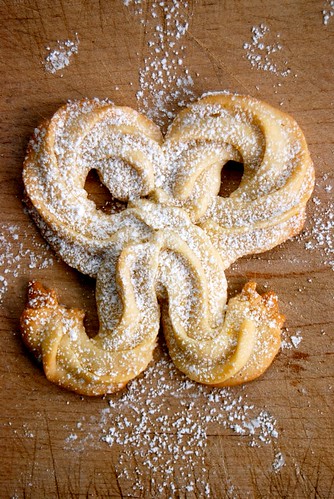
So, those pictures are half of the total number of lemons we harvested from our 1 solitary tree a few weeks ago. As you can see, we had quite a number of these citrus fruits. So, obviously I cracked open The Book and looked up all the lemon cookie recipes I had yet to make: Cream Cheese-Lemon Bows. Unfortunately, the recipe only calls for about 1 lemon, so that really didn't make much of a dent in our supply, but you do what you can! You juice the rest and make lemon juice ice cubes, and you peel the skin and freeze that too so you have lemon zest ready 2 go year round! Harvest the harvest forever!
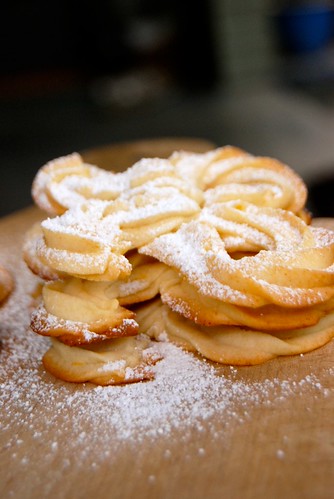
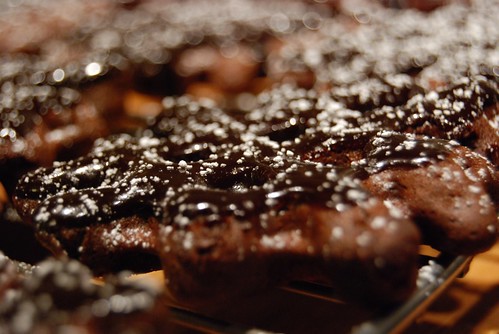
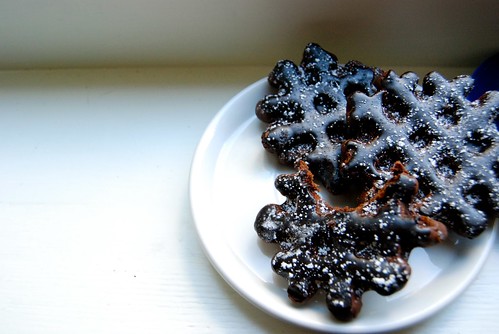
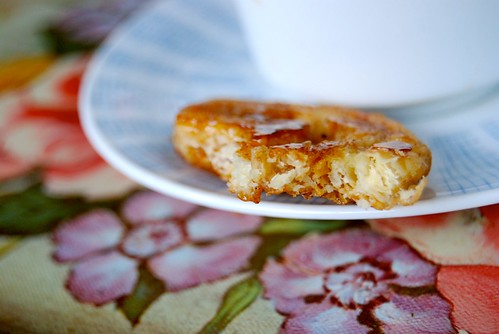
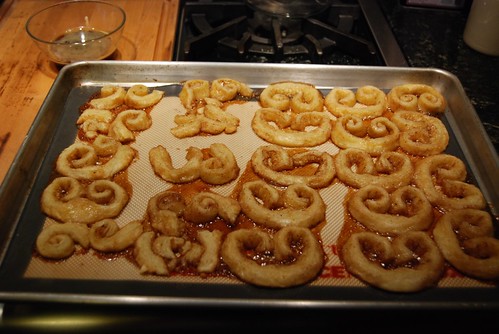
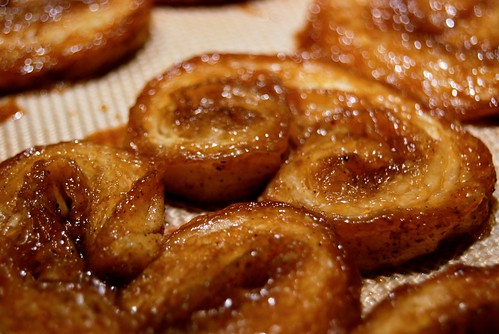
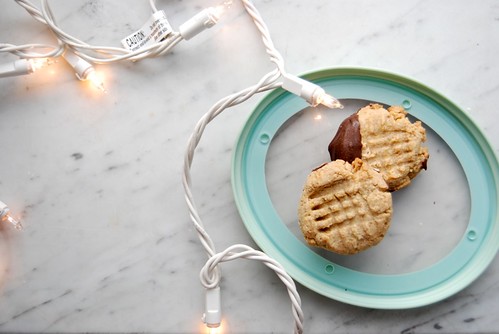
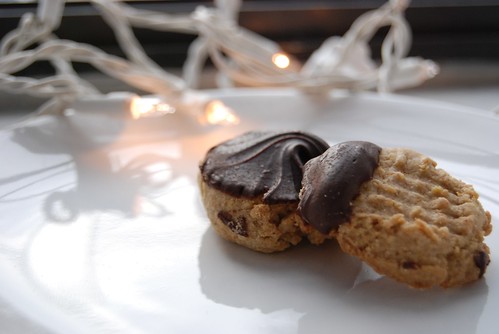
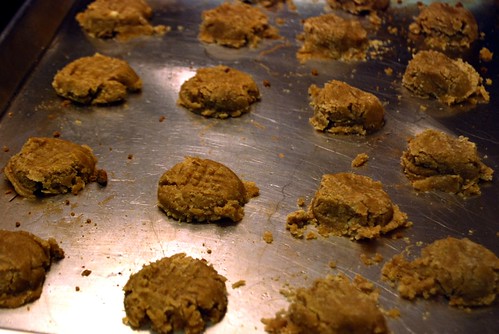
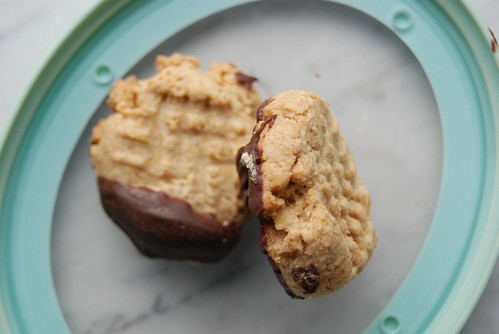
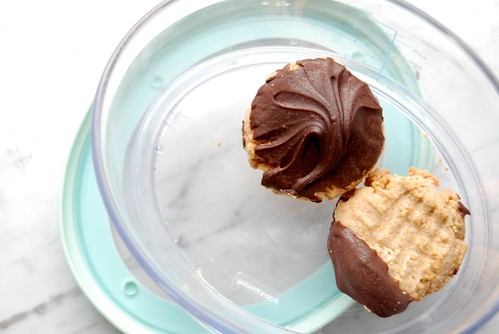
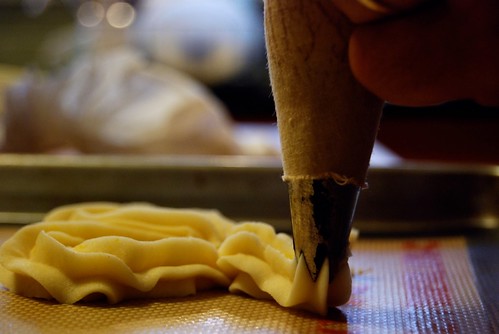
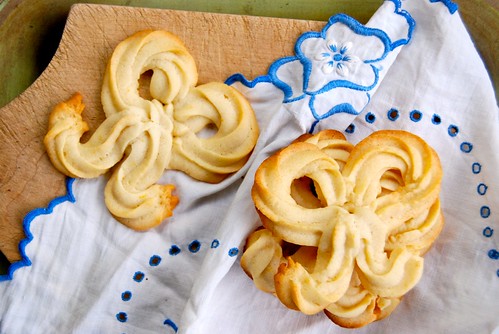
But back to the cookies. These were really tasty! I have really come to love cream cheese based cookies because it gives the dough a little bit of a tangy bite, as well as a creamy buttery taste. And then with the lemon juice you get a really wonderful flavor, something a little out of the ordinary and just plain delicious. Piping the dough into bows can be a little bit of a pain in the ass, and most of mine ended up looking pretty shitty, but the ones that work out are indeed quite adorable. You could just as easily use a big fluted piping tip and make flower dots or whatever else you can manage. (Or use one of these? Never tried one, but maybe this would be a good recipe to try with one...)
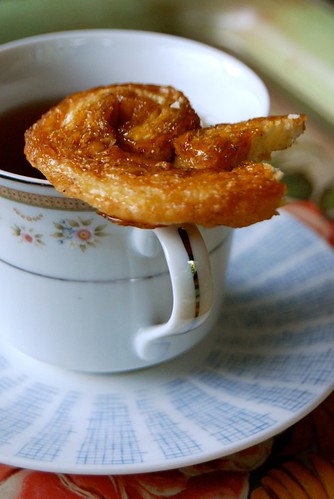
So, being that it is winter and therefore A) lemon season, and B) cold and snowy outside, you really have no excuse not to make these. I want one right now. I want you to make some for me, because I'm too lazy to get out of my snuggie and go into the kitchen and bake something. Thankz.
Cream Cheese-Lemon Bows
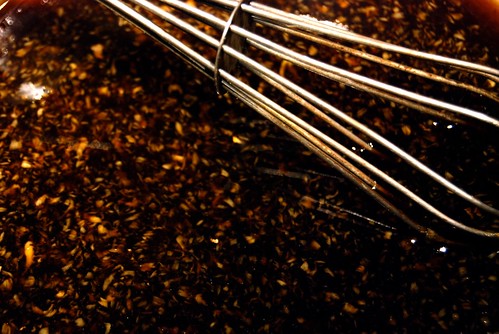
Ingredients
Directions
****
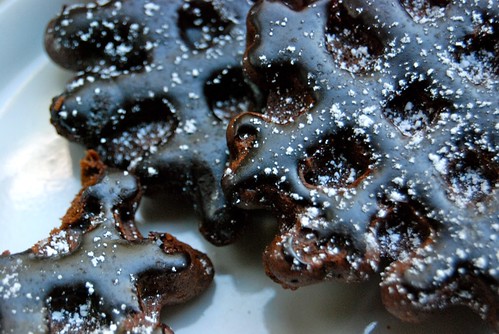
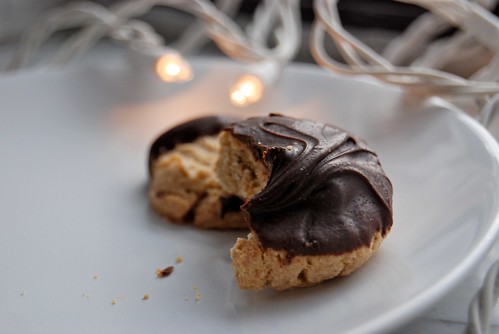
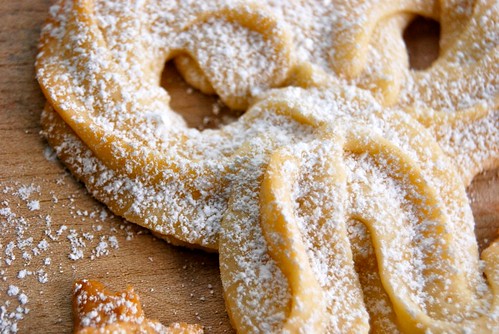
{End Results}
Baking Difficultly: 3/5 (Making the dough is simple, it's just the pastry bag part that's a little tricky)
Ingredient Accessibility: 4/5 (Right, and if you have a lemon tree, this would be a 5/5)
Tastiness: 4.5/5
Attractiveness: 4.5/5
Is it worth it?: Definitely. Even if you don't do the bows, they just taste really yummy.
{Pairings}
Drink: I think a hot toddy would go well with this, but then again I'm just trying to find any excuse to have one of those.
Song: Lemonworld -- The National
Activity: Shoveling your car out from under 30 tons of snow! Yay!
Activity: Shoveling your car out from under 30 tons of snow! Yay!