Friday, February 26, 2010

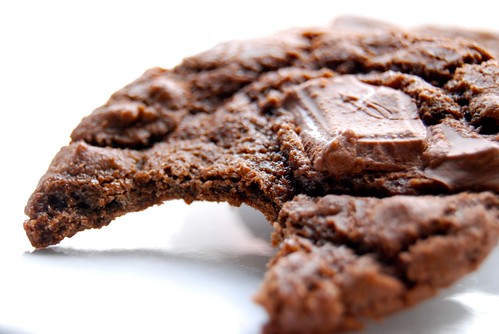
[Cookie 067] Milk Chocolate Cookies

DSC_0066

Alright, New York, what gives? I thought we were done with this winter snowstorm crap, but I guess you thought it would be pretty damn funny to whip out one more blizzard and be all "JAY KAY IT'S STILL WINTER SUCKAS LOLZ!!!!1" I don't appreciate that, Old Man Winter, I really don't. Especially when you throw a few 43ยบ days at us, filled with sunlight and happiness, and then take it away faster than we can say "brunch at a sidewalk cafe."

DSC_0074

As I write this, I'm looking out my grimey dorm window, which now has quite a few inches of snow pressed up against its sill. Great! Love it! At least I get a snow day, and the school was thoughtful enough to let us know this before my class started (unlike last time, when I went to class, no one was there, and then the school announced it a snow day at 12:30 in the afternoon--thanks!). Yep, it's white out there. Fortunately, this makes for great ambient light for photographing cookies by the windowsill, but it makes everything else kinda shitty. Oh well, it looks purdy from inside my warm room.

DSC_0043

Actually, let's stop this complaining, alright Lizzie? Because it's a beautiful day to stay inside, wear your slippers and silk kimono, listen to the new Joanna Newsom album (it's great), and enjoy these Milk Chocolate Cookies with a big mug of milky coffee. Perfection! That's better, far more positive!
DSC_0048

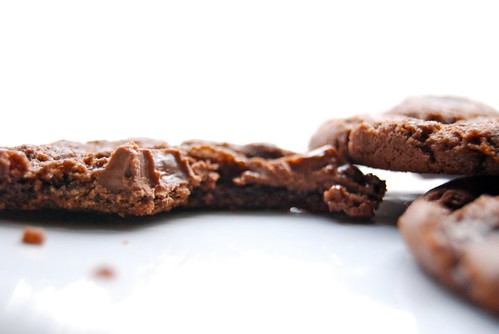
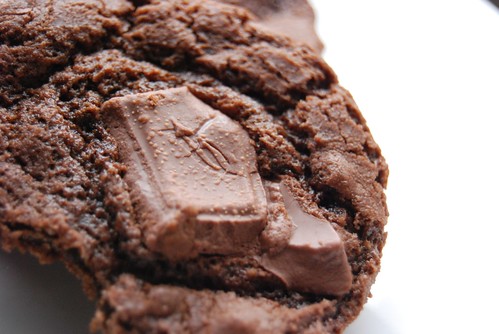
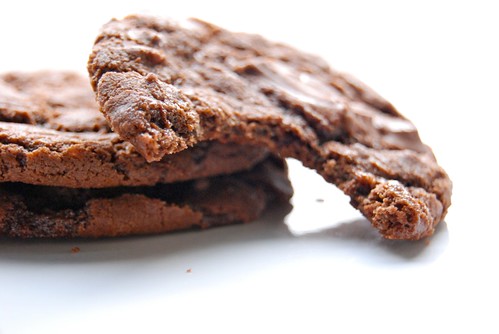
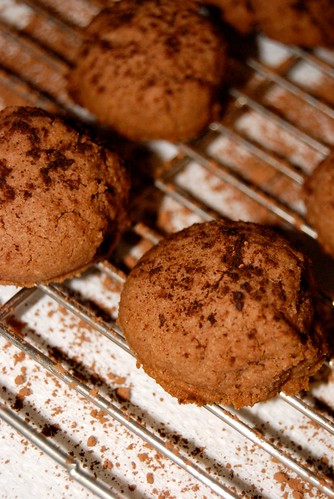
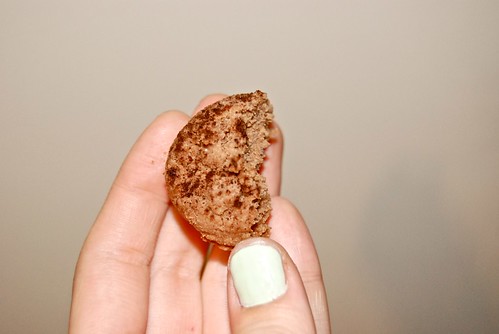
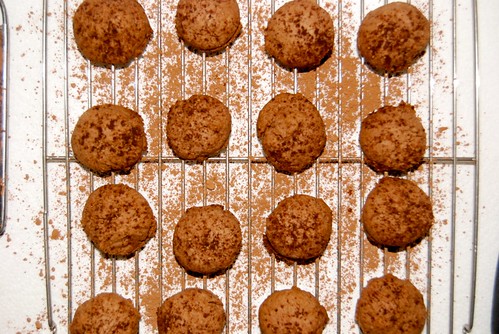
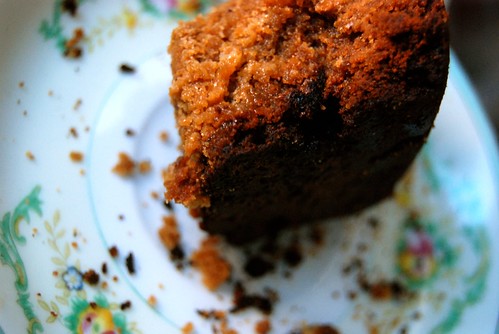
Aren't you glad I'm finally posting a great recipe again? These cookies are so tasty and chocolatey and oversized and perfect for a snowstorm baking session. Personally, I have to admit, I'm not a milk chocolate fan. I used to be, as a child, but since then my palate has grown up and now I finally understand the beauty and greatness that is dark chocolate, and I can't turn back. However, I bet a lot of you do like the milk chocolate, or you are baking for kids (who, generally speaking, couldn't think of chocolate any other way), so these are perfect. They're sweet, crisp yet have a nice flexibility to them, and can easily be modified if you want to use darker chocolate or add in some extras (like nuts, or maybe some sour cherries, or hey, maybe some cayenne pepper or sea salt??).

DSC_0039

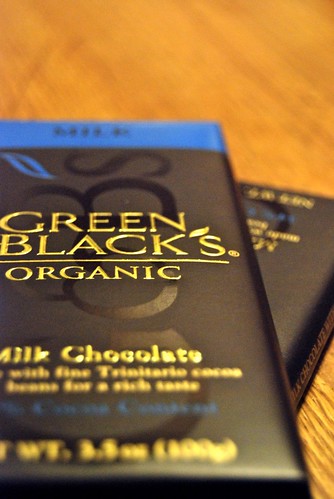
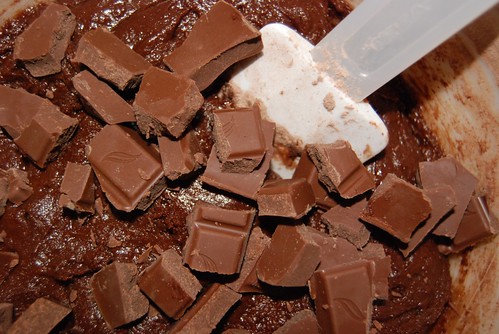
This time around, I remembered the lesson I learned after having baked those Chocolate Charms with cheap-o chocolate, and I bought some nice Green & Black milk chocolate bars, and I highly recommend you do so as well. These cookies are all about the chocolate chunks, so get a nice chocolate bar--none of this Hershey's or Cadbury crap! No ifs ands or buts, I don't care how much you like those, just don't. If anything, they have too much sugar in them and will make your cookies way too sweet and icky and lowbrow (call me an elitist...I am when it comes to chocolate).

DSC_0053

So, I hope I have you convinced, especially if you're stuck inside this weekend because a storm is a-ragin' outside. And if you live in sunny wonderland (hey Ma and Pa!), bake 'em anyways, because they taste just as good out on a sunny porch melting in the Southern California heat ...siiiigh

DSC_0071
DSC_0067

Milk Chocolate Cookies
Makes about 3 dozen

Ingredients
  • 1 cup all-purpose flour
  • 1/2 cup unsweetened Dutch-process cocoa powder
  • 1/2 teaspoon baking soda
  • 1/2 teaspoon coarse salt
  • 1/2 pound good-quality milk chocolate, 4 ounces coarsely chopped and 4 ounces cut into 1/4-inch chunks
  • 1/2 cup (1 stick) unsalted butter
  • 1 1/2 cups sugar
  • 2 large eggs
  • 1 teaspoon pure vanilla extract

Directions
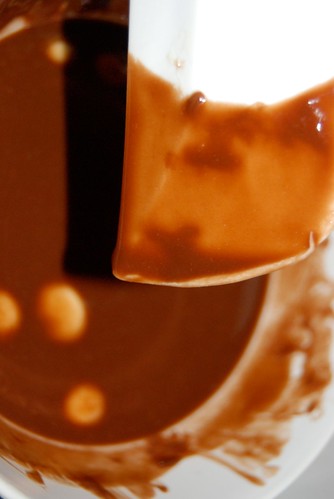
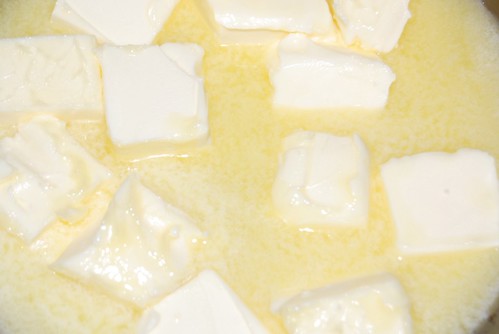
  1. Preheat oven to 325 degrees. Whisk together flour, cocoa powder, baking soda, and salt; set aside. Melt 4 ounces coarsely chopped chocolate with the butter in a small heatproof bowl set over a pan of simmering water; let cool slightly.
  2. Put chocolate mixture, sugar, eggs, and vanilla in the bowl of an electric mixer fitted with the paddle attachment. Mix on medium speed until combined. Reduce speed to low; gradually mix in flour mixture. Fold in chocolate chunks.
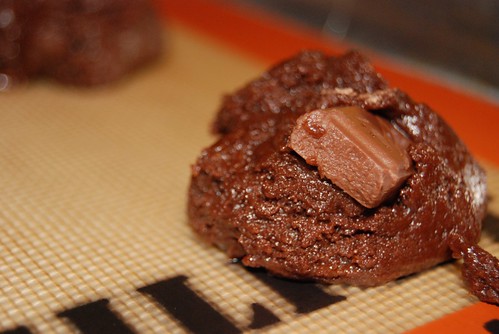
  3. Using a 1 1/2-inch ice cream scoop, drop dough onto parchment-lined baking sheets, spacing 2 inches apart. Bake until cookies are flat and surfaces crack, about 15 minutes (cookies should be soft). Let cool on parchment on wire racks. Cookies can be stored between layers of parchment in airtight containers at room temperature up to 3 days.

****
{End Results}
Baking Difficultly: 2/5
Ingredient Accessibility: 4/5
Tastiness: 4.5/5
Attractiveness: 4/5
Is it worth it?: Indeed! You'd be hard-pressed to find someone who doesn't like these

{Pairings}
Drink: Milk, again. But I think vanilla ice cream could be a decent substitution, you know, if you have to...
Song: Baby Birch -- Joanna Newsom
Activity: Trying to not think about what this city is going to look like come Monday when all the snow has turned to fields of ice death traps!

Wednesday, February 24, 2010

[Cookie 066] Hazelnut Cookies

DSC_0013

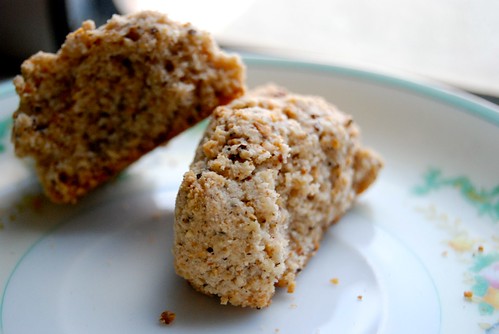
Movin' right along, aren't we. Well, as you can tell, I had leftover Hazelnuts from the last recipe so what better cookie to make than the one with this very nut as its name. Yes, that sentence was poorly written, but you probably caught on that I am referring to Hazelnut Cookies (note to self: do not write blog entries past 11 pm, especially when sick).

DSC_0030

Yeah, I'm sick with a cold. Boo hoo, so is everyone else in the world. But all I really want when I'm sick is a nice cup of soup (Matzo ball, anyone?) and then a cookie. Unfortunately, I don't think this one cuts it. Nope. And the recipe isn't even listed on the Martha Stewart website, and for good reason. It's another bizarro recipe that didn't work, and this time it wasn't my fault (I think/hope).

DSC_0003

So, I was all gung-ho about the idea of a egg white-based nut cookie at first. I was imagining a meringue (which Martha did a bang up job making a recipe for, if you remember) with finely ground nuts mixed in, but I think the recipe got the order of the steps all wrong. First, you beat up the eggs until soft peaks--no prob. Then--then--she has you add a bunch of sugar, without any cream of tartar and without doing the subsequent whisking over a pot of simmering water. Ever made marshmallows before? Well you're about to.

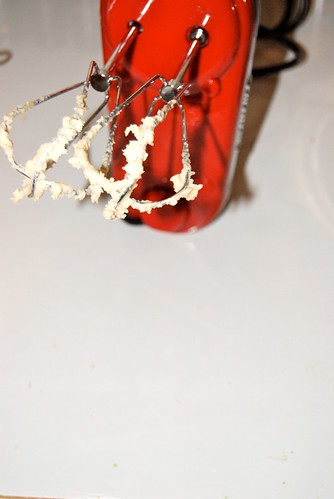
It got gross, guys, I'm tellin' you the truth. I add the sugar and then these eggs just don't stiffen up for the life of them (I want to make a "that's what she said" joke here, but I don't think I know how...). They just got gummy and gooey, like taffy, and it was nasty. I whisked and whisked with my little red electric mixer, but to no avail. They just wouldn't stiffen (that's what she said! Hmm...the "they" part of that sentence just makes that joke gross). Anyway, I pushed on and added the nuts and flour and all that. Yeah, no way, this was not working.

DSC_0021

However, I think it could have worked if the ingredients were added in a different order. Maybe if you whisk up the egg whites until they form stiff peaks and then fold in the dry ingredients, then the dough wouldn't get gummy and it would be more edible. Who knows. I'm open for suggestions, as always!

DSC_0020

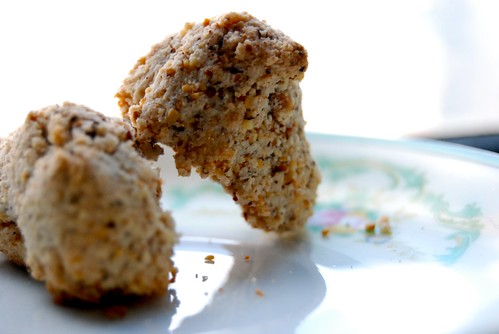
End results? They tasted hard and chewy. The exact polar opposite of the category they were listed in: "light and delicate." FAIL. Okay, Martha, I don't know what's up with this, but thanks for trying. I did dip these in my coffee, and that made them a little more edible, but coffee makes everything better. Seriously, yesterday I took a DayQuil, an Airborne tablet, and then drank 2 cups of coffee, and let me tell you--I was ready to FLY! Whoooooweee! Probably not the best medical advice, but if you want to feel like a rockstar for 5 hours, drink that medical combo and avoid making these cookies. Done and done.

DSC_0033

(No recipe, because it's not on the MS website, but you wouldn't want it anyway.)

But wait! Don't go! Cheer up, I have a really tasty super yummy delicious chocolatey goody happy snappy fabulous recipe for you after this one! Get ready! I'm gonna go take a NyQuil and pass out--but keep an eye out, I'll be posting this next recipe soon! Until then, lovelies...

****
{End Results}
Baking Difficultly: 3/5
Ingredient Accessibility: 4/5
Tastiness: 1.5/5
Attractiveness: 2/5
Is it worth it?: No

{Pairings}
Drink: Coffee--Hazelnut coffee, if you're really crazy. Throw in a DayQuil for good luck!
Song: Haven't Got a Clue -- The Flaming Lips
Activity: Have you ever ate an AirBorne tablet without water? It's insane, but probably better than these cookies.

Wednesday, February 17, 2010

[Cookie 065] Hazelnut Thumbprint Cookies (And PARTY TIME!)


It's time to celebrate! Unleash the balloons! Start the party! Get the piano out, round up all my horse, pig, mouse, and other bizarre unnatural animal friends and get this party going. If you don't know what I'm talking about, watch that video--it's worth it, the best part's at the end.

Aaaaanyways....Hurrah! One year DONE! I've been on this project for a year now, and I'm still goin strong. I feel like now is a good time to reflect, and while most recipes from The Book are pretty simple and delicious, occasionally a recipe might go something like this:


Okay truth be told, that was just an excuse for me to post that video, which just cracks me up every time. Look, the point is, some recipes suck, most don't, and I like baking. Hurray for this blog's first birthday--now let's move on.

DSC_0015

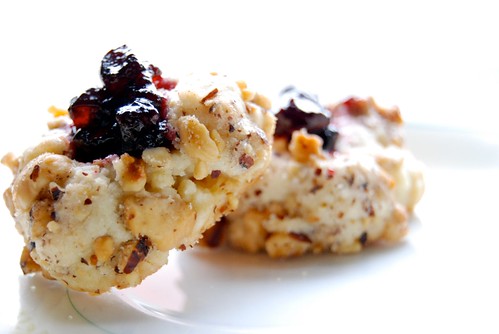
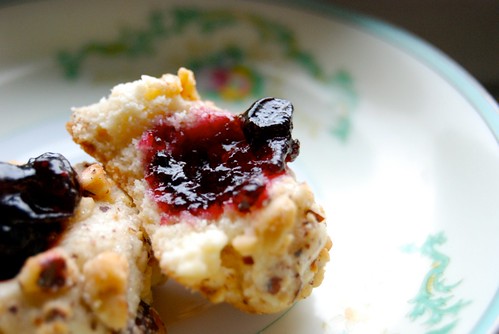
Hazelnut Thumbprint Cookies! Yeah, so I didn't go off and make something spectacularly exciting to celebrate the monumentous event. Big deal. These cookies were just fine, so I'm happy. They weren't anything shockingly amazing, but they tasted nice and could be easily modified in a bunch of different ways. Don't like hazelnuts? Try walnuts, or pecans, or maybe even pine nuts. And you can choose whatever filling you want: jams, preserves, even Nutella could work (when could Nutella not work, is the real question). You could even fill the centers with home made whipped cream and top the cookies with macerated bits of strawberries if you're really feeling ambitious. Or you could make your own preserves--fig, perhaps?

DSC_0375

DSC_0365

I only had one main bug with these guys, besides the fact that my food processor totally didn't evenly chop up my hazelnuts. The dough breaks easily, so you have to make the thumbprints very gingerly. I used the back of a wooden spoon to make the indentations both times and that worked well. I filled the thumbprints with a currant jam which was really tasty!

DSC_0384

All in all, these taste just like you expect them to. No hidden surprises, and though that can be a good thing, I thought it made these a little on the boring side. I think it's because the actually cookie part just wasn't very interestingly flavored. Maybe you could use the flavorings from the Sweet Cardamom Crackers instead--that was such a great flavored dough, and would taste amazing with the hazelnuts! I can't believe I just thought of that now. That's a million dollar idea there, that is.

DSC_0020

So yeah, a little bit anticlimactic for a milestone like this one, but who cares! I've got some more recipes coming up that are...interesting. And delicious. And I'll try to post them sooner rather than later! Au revoir, mes amis, and I'll leave you with this last entirely unrelated, yet hilarious, video (ignore the weird gibberish part in the beginning):


DSC_0007

Hazelnut Thumbprint Cookies
Makes about 2 dozen

Ingredients
  • 1/2 cup (1 stick) unsalted butter, softened
  • 1/2 cup plus 2 tablespoons sugar
  • 1 large egg, separated, each part lightly beaten
  • 1 teaspoon pure vanilla extract
  • 1 1/4 cups all-purpose flour
  • 1/8 teaspoon coarse salt
  • 1/2 cup toasted skinned hazelnuts, ground
  • Strawberry jam, for filling

Directions
  1. Preheat oven to 325 degrees. Put butter and 1/2 cup sugar in the bowl of an electric mixer fitted with the paddle attachment; mix on medium speed until pale and fluffy, about 3 minutes. Add egg yolk and vanilla, and mix well. Reduce speed to low. Add flour and salt, and mix until just combined. Refrigerate dough for 2 hours.
  2. Stir together toasted hazelnuts and remaining 2 tablespoons sugar in a small bowl. Roll dough into 1-inch balls; dip balls in egg white, then in hazelnut-sugar mixture. Space 1 inch apart on baking sheets lined with parchment paper. Press down center of each ball with your thumb. Bake for 10 minutes. Remove from oven; press down centers again with the end of a wooden spoon. Return to oven. Bake cookies until golden brown, 8 to 10 minutes more. Let cool slightly on sheets on wire racks. Fill each center with jam. Cookies can be stored in a single layer in airtight containers at room temperature up to 2 days.

****
{End Results}
Baking Difficultly: 3/5
Ingredient Accessibility: 3/5
Tastiness: 3.5/5
Attractiveness: 4/5
Is it worth it?: If these sound tasty to you, bake them. If you're not a hazelnut fan, don't bother.

{Pairings}
Drink: Almond Milk might be nice, yes?
Song: I Can't Give You Anything But Love -- Cliff Edwards
Activity: Rent Duck Soup or A Night at the Opera! Embrace the old! Paint on a Groucho Marx mustache!

Tuesday, February 9, 2010

[Cookie 064] Chocolate Charms

DSC_0135

Okay, I hate the word "blogosphere." I think it symbolizes the epitome of dorkiness and definitely doesn't help make the activity of blogging any cooler than it already isn't. Haha, sorry if I just offended you, but take it with stride. Look, the point is, every so often a really great thing explodes into the "blogosphere" (I had to use this word--I cringe) that I really love, or admire, or covet, or oogle and oggle over in some way. Enter: Mast Brother's Chocolate Bars.

For those of you who haven't seen pictures of their gorgeous packaging, here you go:

Yeah. I know right?! Now get a load of this:

Right. Those two dudes make the chocolate. Yes. Okay, sooooooooooooooooooo....I never thought I'd get this personal on this blog but.........I think I'm in love. And so is my mom. Yeah, we are both swooning over these totally dreamy chocolatiers, and neither of us have even tried their chocolate yet. I'm trying to hold off until I go visit their store in Brooklyn, but I think I might have to pick up a bar at Dean & Deluca in the meantime/tomorrow (Edit: I just tried one. All my expectations were fulfilled. Chocolate Coma: Activate!) . I mean seriously: Dark Chocolate + Sea Salt + Pepper; Dark Chocolate + Almonds + Sea Salt + Olive Oil (this is the one I tried); Chocolate + Stumptown Coffee. And more. I am literally swooning.

DSC_0147

But wait, why do I mention this now? Because I made these Chocolate Charms, and they definitely needed some Mast Brother's Chocolate loving. What I mean is, I used Hershey's Cocoa powder...and it didn't cut it. Nope nope nope.

DSC_0125

These cookies are really great and adorable, but chocolate is their main flavor, so you should really go out of your way to use high quality cocoa powder in the recipe. No, those two bearded guys don't sell cocoa powder (that I'm aware of), but I'm sure Scharffen Berger would more than suffice!

DSC_0150

But other than the cocoa powder thing, these cookies are great. They are light and crunchy, sweet and chocolatey, and cute and simple. I feel like I have totally exhausted my vocabulary regarding which adjectives I use to describe recipes, but I do mean what I say! You make them and you'll understand. And I suggest you do make them. Please do--I'll eat your leftovers.

DSC_0154

And dare I say it--these would be a perfect Valentine's Day present. But all I really want is one of those purdy chocolate bars. The Stumptown Coffee one please. Thanks. Oh, and I'll take a cute bearded guy too please, in a to-go bag. Thanks, have a good one! Pleasure doin' business with you! Bye!

DSC_0163

Chocolate Charms
Makes 40

Ingredients
  • 2 cups all-purpose flour
  • 1/4 cup unsweetened cocoa powder, plus more for dusting
  • 1/4 teaspoon table salt
  • 1 cup (2 sticks) unsalted butter, room temperature
  • 3/4 cup sugar
  • 1 teaspoon pure vanilla extract (optional)

Directions
  1. Sift together flour, cocoa, and salt into a bowl.
  2. Place butter in the bowl of an electric mixer fitted with the paddle attachment. Beat on medium speed until fluffy, about 5 minutes. Add sugar, and beat about 2 minutes more, until very light in color and fluffy, occasionally scraping down the sides of the bowl with a spatula. Add vanilla, if using. Add flour mixture, and combine on low speed, scraping with spatula if necessary, until flour is just incorporated and dough sticks together when squeezed with fingers. Form dough into a flattened disk; wrap in plastic. Chill until firm, at least 1 hour.
  3. Preheat oven to 325 degrees. Line two baking sheets with parchment paper.
  4. Using a spoon, form dough into 1-inch balls; place on prepared baking sheet. Bake until firm, 20 to 25 minutes, rotating halfway through. Cool completely on wire rack. Dust with cocoa powder just before serving. Cookies can be stored in an airtight container at room temperature up to 1 week.

****
{End Results}
Baking Difficultly: 2/5
Ingredient Accessibility: 4/5
Tastiness: 4/5
Attractiveness: 4.5/5
Is it worth it?: Yep. Sorry I'm feeling rather curt and unchatty with these results.

{Pairings}
Drink: Why, milk of course. But let's try to think outside the box, shall we? How about an Espresso? That would be lovely!
Song: Knife -- Grizzly Bear (Thought I'd stick with the whole ultra hip bearded Brooklyn theme, right?)
Activity: Checking out these photos of Mast Brother's Chocolate Factory from The Selby (more hip things)

Sunday, February 7, 2010

[Cookie 063] Peanut Butter Cookies

DSC_0113

Quick! Don't look now, but I'm making a speedy cover up of my last disastrous post! Avert your eyes--do not look at the horrid toffee-laden blondie brick that resembled some sort of ancient artifact that you would find in the Egyptian wing at the Met. Look at this! Look! Better! Tastier! Peanut Butter Cookies!

DSC_0107

Now, I had hoped to make this post a Valentine's-themed post, but since that holiday gives me the creeps/I'm bitter/I didn't make a "Valentines-y" cookie, I just thought I'd post this recipe instead. But honestly, any cookie you make is perfect for Valentine's Day, because anything homemade and sweet will totally get you some. ...Get you some high-fives and hugs. That's all you get.

DSC_0072

But wait, not everyone likes Peanut Butter Cookies! Well too bad. If you don't like them, it means you are crazy. Or it means that your taste buds are inadequate (side note: I'm reading Brillat-Savarin's The Physiology of Taste [I should be reading it now, and not blogging, but whatever] for my Food and Aesthetics class, and he's basically making me fall even further in love with food and eating. I recommend you read this book, ASAP. And he says that when 2 people eat the same dish and one person likes it and one doesn't, it often means that the other person just doesn't have as many taste buds. Okay, that was a bad generalization of his writings, but it better illustrates my point. You should read it, seriously!).

DSC_0079

DSC_0088

Aaaaaanyway, that was a long parenthetical. What I want to get across is that these cookies are really good. They're like the shortbread version of Peanut Butter Cookies. These aren't your traditionally chewy, squishy Peanut Butter Cookies; they are crumbly and sandy and buttery and really nice. That is, permitting that you don't burn your first batch like I did. I don't know what's wrong with my oven, but it's totally lost its mind. My first batch came out black as the night sky, and emitted so much smoke that I literally had to set the cookies to cool outside my window, on top of my air-conditioner. Yeah. Don't let these babies burn.

DSC_0097

I hope you're keeping up with me. I keep getting onto these long tangents, probably because I'm just trying to procrastinate on my homework. Here, let me summarize this post in one sentence: These cookies are really yummy and perfect for your lover or yourself or your Super Bowl Party that you already had.

DSC_0118

So, make em! And while you're at it, fix my oven! Or, better yet, buy me a kitchen timer. I DON'T HAVE ONE! I know, they're like $5, but I'm cheap and lazy and a college student (redundant, I know). Whatever, I'll stop rambling if you bake these. Thanks!

DSC_0108

Peanut Butter Cookies
Makes 2 1/2 dozen

Ingredients
  • 1 1/4 cups all-purpose flour, plus more for flattening cookies
  • 3/4 teaspoon baking soda
  • 1 cup (2 sticks) unsalted butter, room temperature
  • 1/2 granulated sugar
  • 1/2 cup packed dark-brown sugar
  • 1 large egg
  • 1/2 teaspoon pure vanilla extract
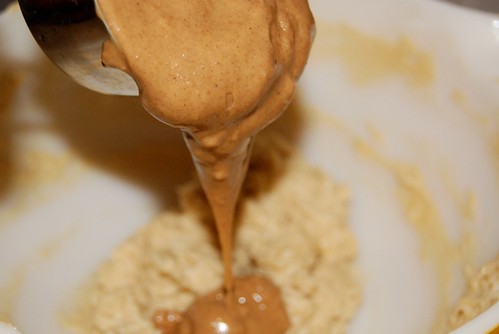
  • 1 cup smooth peanut butter (crunchy can also be used)
  • 1/2 cup salted peanuts

Directions
  1. Preheat oven to 350. Sift flour and baking soda into a bowl.
  2. Put butter and both sugars in the bowl of an electric mixer fitted with the paddle attachment; mix on medium speed until pale and fluffy; about 3 minutes. Add egg; mix until well combined. Mix in vanilla and then peanut butter. Reduce speed to low. Add flour mixture; mix until just combined. Stir in peanuts.
  3. Drop batter by heaping tablespoons onto baking sheets lines with parchment paper, spacing 1 1/2 inches apart. Dip the bottom of a galss in flour, tapping off excess and use it to flatten balls slightly. Firmly press fork tines into each dough ball to make a cross-hatch pattern.
  4. Bake cookies, rotating sheets halfway through, until centers are firm and edges are lightly browned, about 25 minutes. transfer cookies on parchment to a wire rack to cool completely. Cookies can be stored in airtight containers at room temperature up to 3 days.

****
{End Results}
Baking Difficultly: 1/5
Ingredient Accessibility: 4/5
Tastiness: 3.5/5
Attractiveness: 4/5
Is it worth it?: Yes! A pleasant cookie for pleasant people.

{Pairings}
Drink: Chocolate Soy Milk! Oh god yes.
Song: Happy Valentine's Day -- Outkast
Activity: Reading Brillat-Savarin's The Physiology of Taste

Saturday, February 6, 2010

[Cookie 062] Brown Butter Toffee Blondies

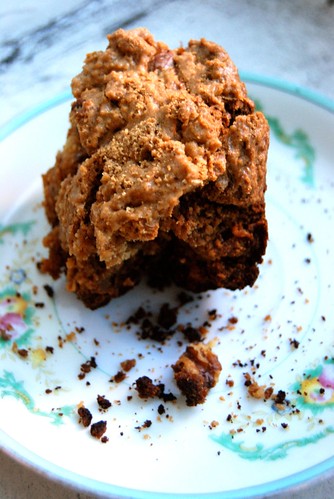
Okay, so I'm 100% sure that my dentist hates me right now. Well, let me take that back. He probably disapproves of me right about now, but loves the fact that after eating these Brown Butter Toffee Blondies, I'm probably going to need 3 more fillings and caps on several teeth that I chipped while eating these. So, considering that he's going to be making a lot of money off of me, he probably doesn't hate me--the contrary! But still, I hate me. Because these cookies sucked.

DSC_0062
I'm embarrassed even posting this picture!

What's worse, is I perused the Martha Stewart website and read the comments on this recipe, and everyone loved them and said they were just the bees knees. I messed up. Well, I had an accomplice (*cough*Emily*cough*), but either way, something went haywire. I could easily blame it on the craziness of my oven, which as of late has gotten even more unpredictable, but really I should have known better. Here's what went down:

DSC_0026
DSC_0034
DSC_0040

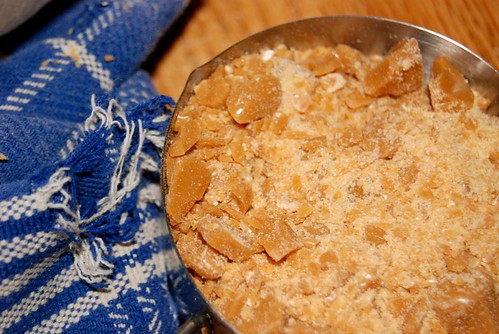
It started off a little rocky when we couldn't find toffee bits anywhere, and we couldn't even find Heath Bars to use as substitute. Instead, we chose to use hard caramels, which required a little bit of demolition work on Emily's behalf. Fortunately, it worked out decently, but they really do get stuck in your teeth like no other. Next time, if I can't find toffee bits, I'd probably use Butterscotch bits instead, just because I think they'd bake up better and are easier to chew. But even still, if that was our only problem I'd still be happy--it got a lot worse from there.

DSC_0001
DSC_0020
DSC_0024

So we browned the butter (to perfection, might I add!) and mixed up the batter with my awesome hand mixer, and dumped it all into my baking dish and put it into the oven. We waited and waited, got hungry, ate some Indian food, chatted, danced, I dunno, and then we checked on them. Cake tester should come out with a few crumbs, Martha? Well, it came out completely drenched in batter. That's not right. Back into the oven with you!

DSC_0049

And we wait. We watch some TV, YouTube, I don't even remember what we did, but we waited. And checked again. Same situation. Wait. Check--still liquid batter. We essentially baked it for DOUBLE the amount of time. Now, if I wasn't suffering from a brain cavity with no brain in it, I would have realized that this is not the best idea. Underbaked is ALWAYS BETTER than overbaked. End result: BROWN-BUTTER TOFFEE BRICKS!

DSC_0065
Honestly, why did I even bother taking pictures of this?!

Siiiigh. Inedible. Completely, entirely, totally uneatable. And yet, I tried to eat it anyway. And that's how I broke all of the teeth in my mouth. Yep, I better start looking for a retirement home in Florida right now, because I already need dentures. That being said, I think these blondies have great potential. And I really really really really want you to make them and tell me how they turn out! The batter tasted so delicious--especially when you really brown the butter so it gets really golden looking. God, I'm so disappointed! Maybe I'll make these again, but newer cookies call.

So I call on you, faithful reader, to revise my mistakes, avenge my errors (???), whatever you can do. Do it. Make these. I trust you--at least I trust you far more than I trust my oven/judgement. And that's all that matters, so get goin'. Into the kitchen! Brown that butter baby!

Brown-Butter Toffee Blondies
Makes about 1 dozen

Ingredients
  • 1 1/4 cups (2 1/2 sticks) unsalted butter, plus more for pan
  • 2 1/4 cups all-purpose flour, plus more for pan
  • 1 1/2 teaspoons baking powder
  • 1 1/2 teaspoons salt
  • 2 cups packed light-brown sugar
  • 1/2 cup granulated sugar
  • 3 large eggs
  • 2 1/2 teaspoons pure vanilla extract
  • 1 cup chopped walnuts (about 4 ounces)
  • 1 cup toffee bits

Directions
  1. Preheat oven to 350 degrees. Butter a 9-by-13-inch baking pan. Line bottom of pan with parchment paper; butter and flour parchment paper.
  2. In a saucepan over medium heat, cook the butter until it turns golden brown; remove from heat, and let cool. Whisk together flour, baking powder, and salt.
  3. In the bowl of an electric mixer, combine browned butter and both sugars; stir with a wooden spoon until combined. Attach bowl to mixer; add eggs. Using the paddle attachment, beat on medium-high speed until light and fluffy, about 3 minutes. Add vanilla, and beat to combine. Add flour mixture, walnuts, and toffee bits. Mix until thoroughly combined, and pour into prepared pan.
  4. Bake until a cake tester inserted in the center comes out clean, 35 to 40 minutes (do not overbake). Transfer to a wire rack to cool completely before turning out of pan onto a cutting board. Peel off parchment paper; cut blondies into 3-inch squares. Blondies can be stored in an airtight container at room temperature up to 3 days.

****
{End Results}
Baking Difficultly: 3.5/5 (The only "difficulty" is browning the butter enough so that it has a great flavor, but without burning it--but don't be too shy! Really get it golden!)
Ingredient Accessibility: 2/5 (WHERE DO I FIND TOFFEE BITS?!)
Tastiness: 4/5 (based on the batter alone)
Attractiveness: 3/5
Is it worth it?: I think it would be, if you do it right. I strongly suggest you try it!

{Pairings}
Drink: Hazelnut coffee anyone!?
Song: I Should Have Known Better -- The Beatles (oh god watch this clip! I love this movie more than life itself)
Activity: For me--A trip to the dentist. For you--Laughing at me? Or watching A Hard Day's Night while eating the entire batch of these blondies. That would be heaven.